Photos: Crew transport rolled out at Baikonur

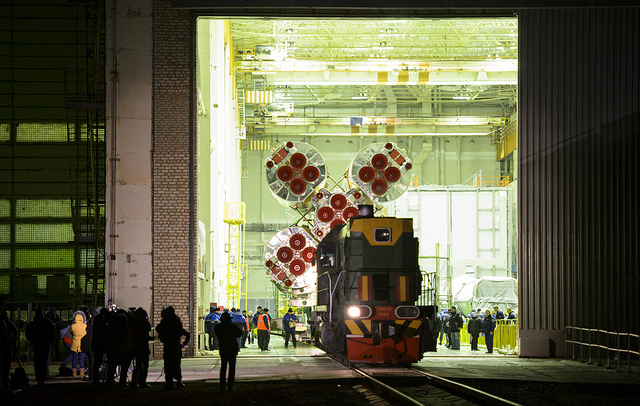
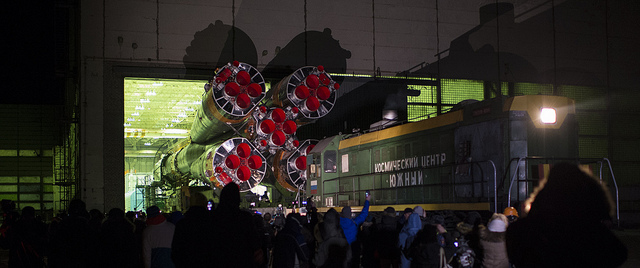
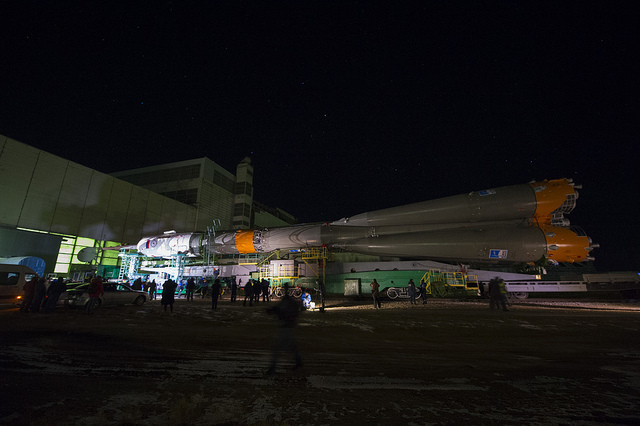
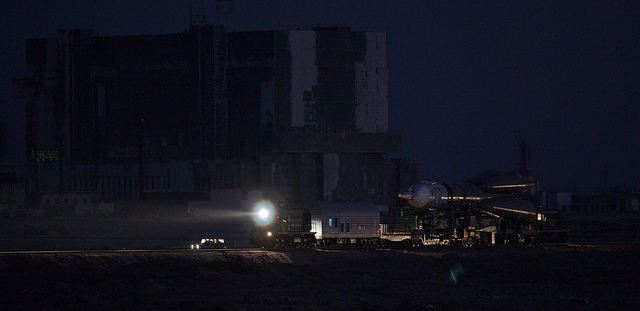
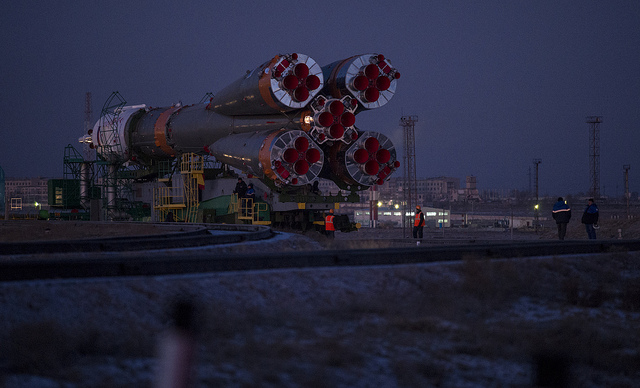
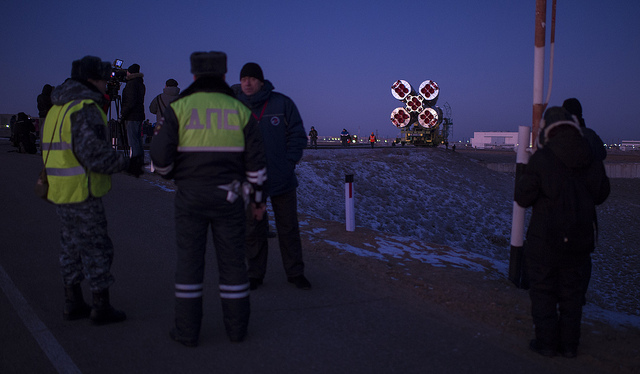
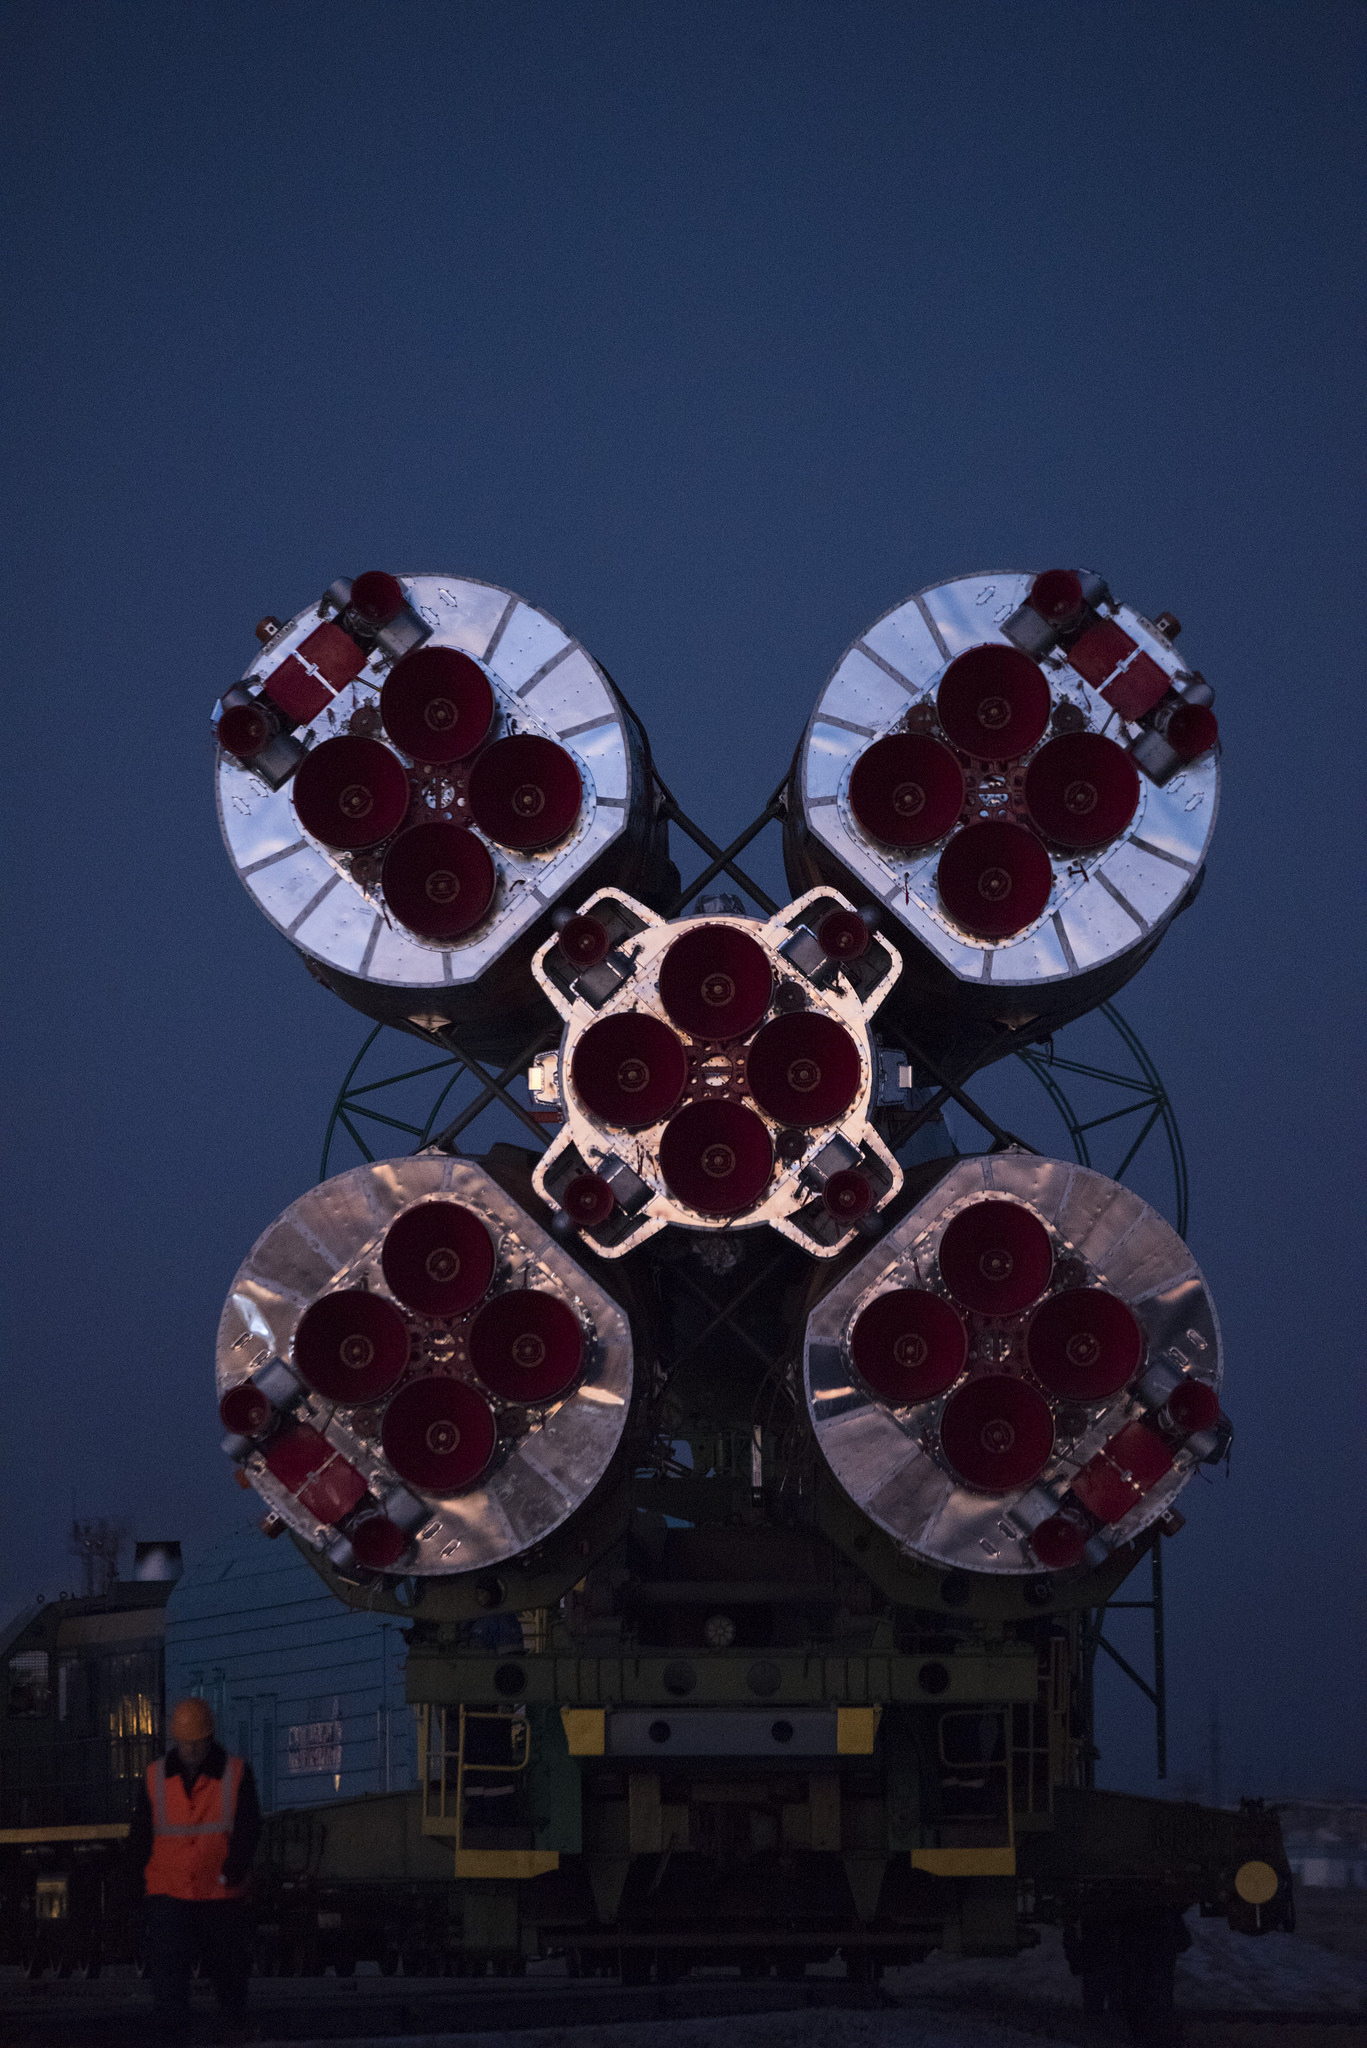
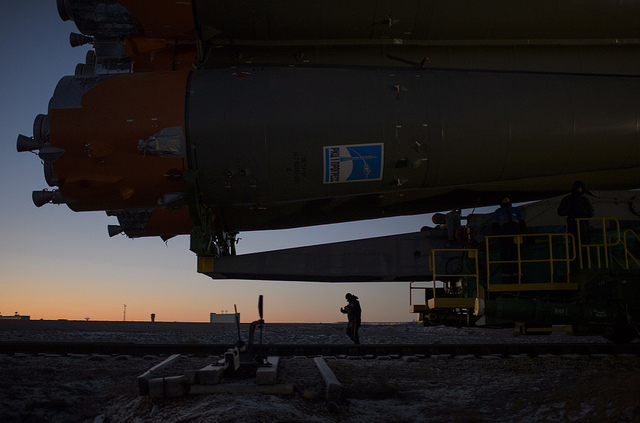
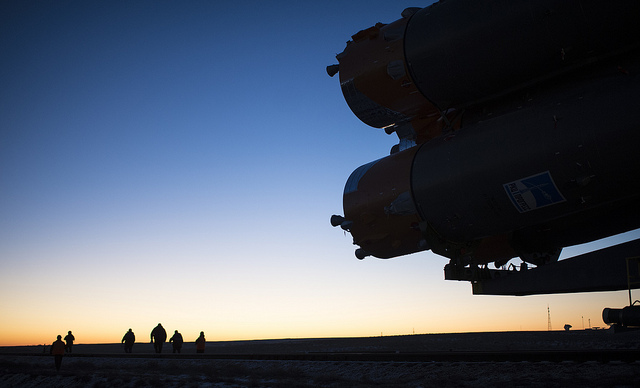
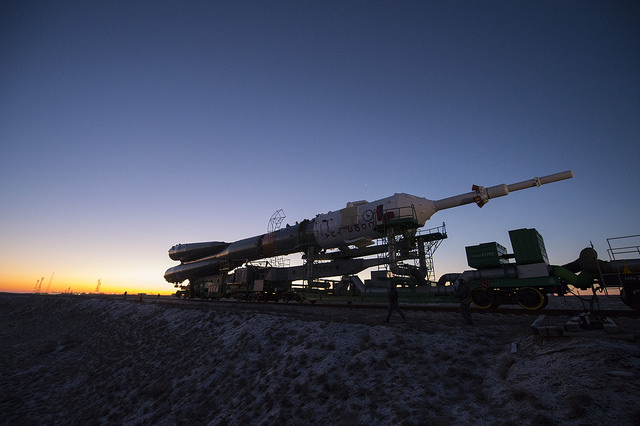
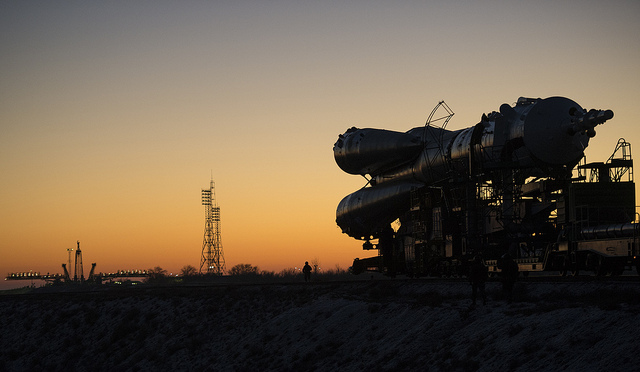
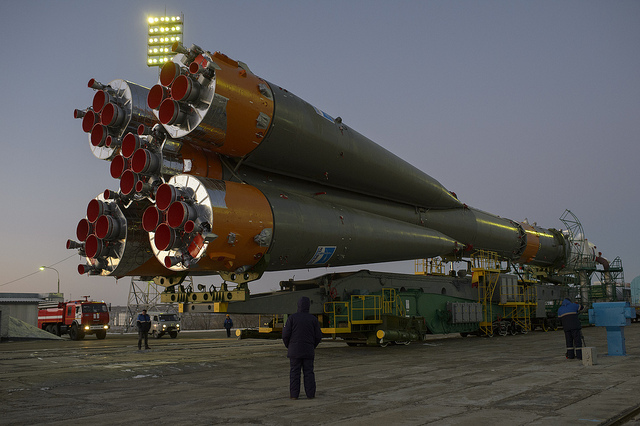
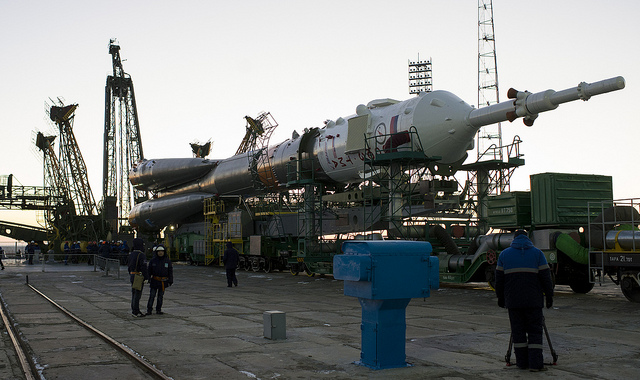
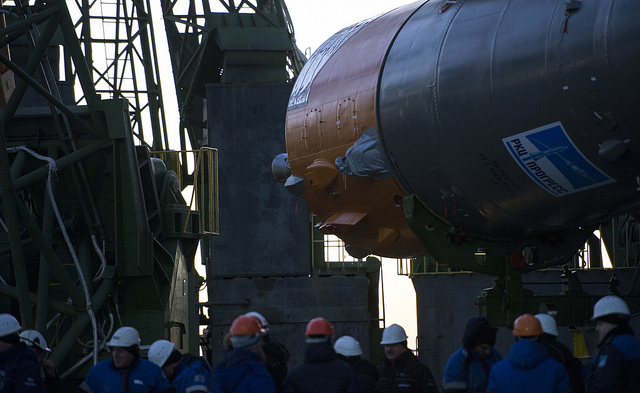
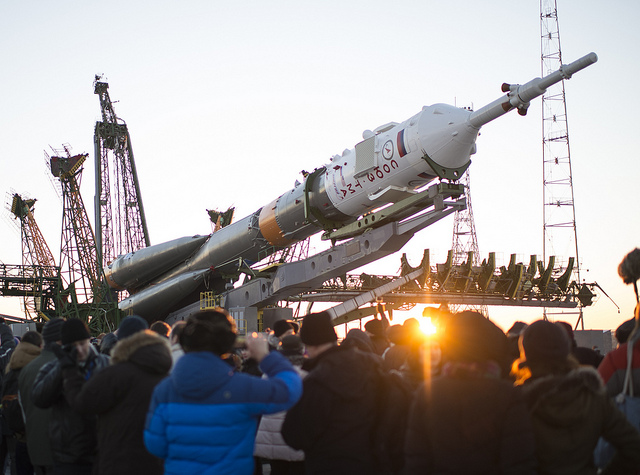
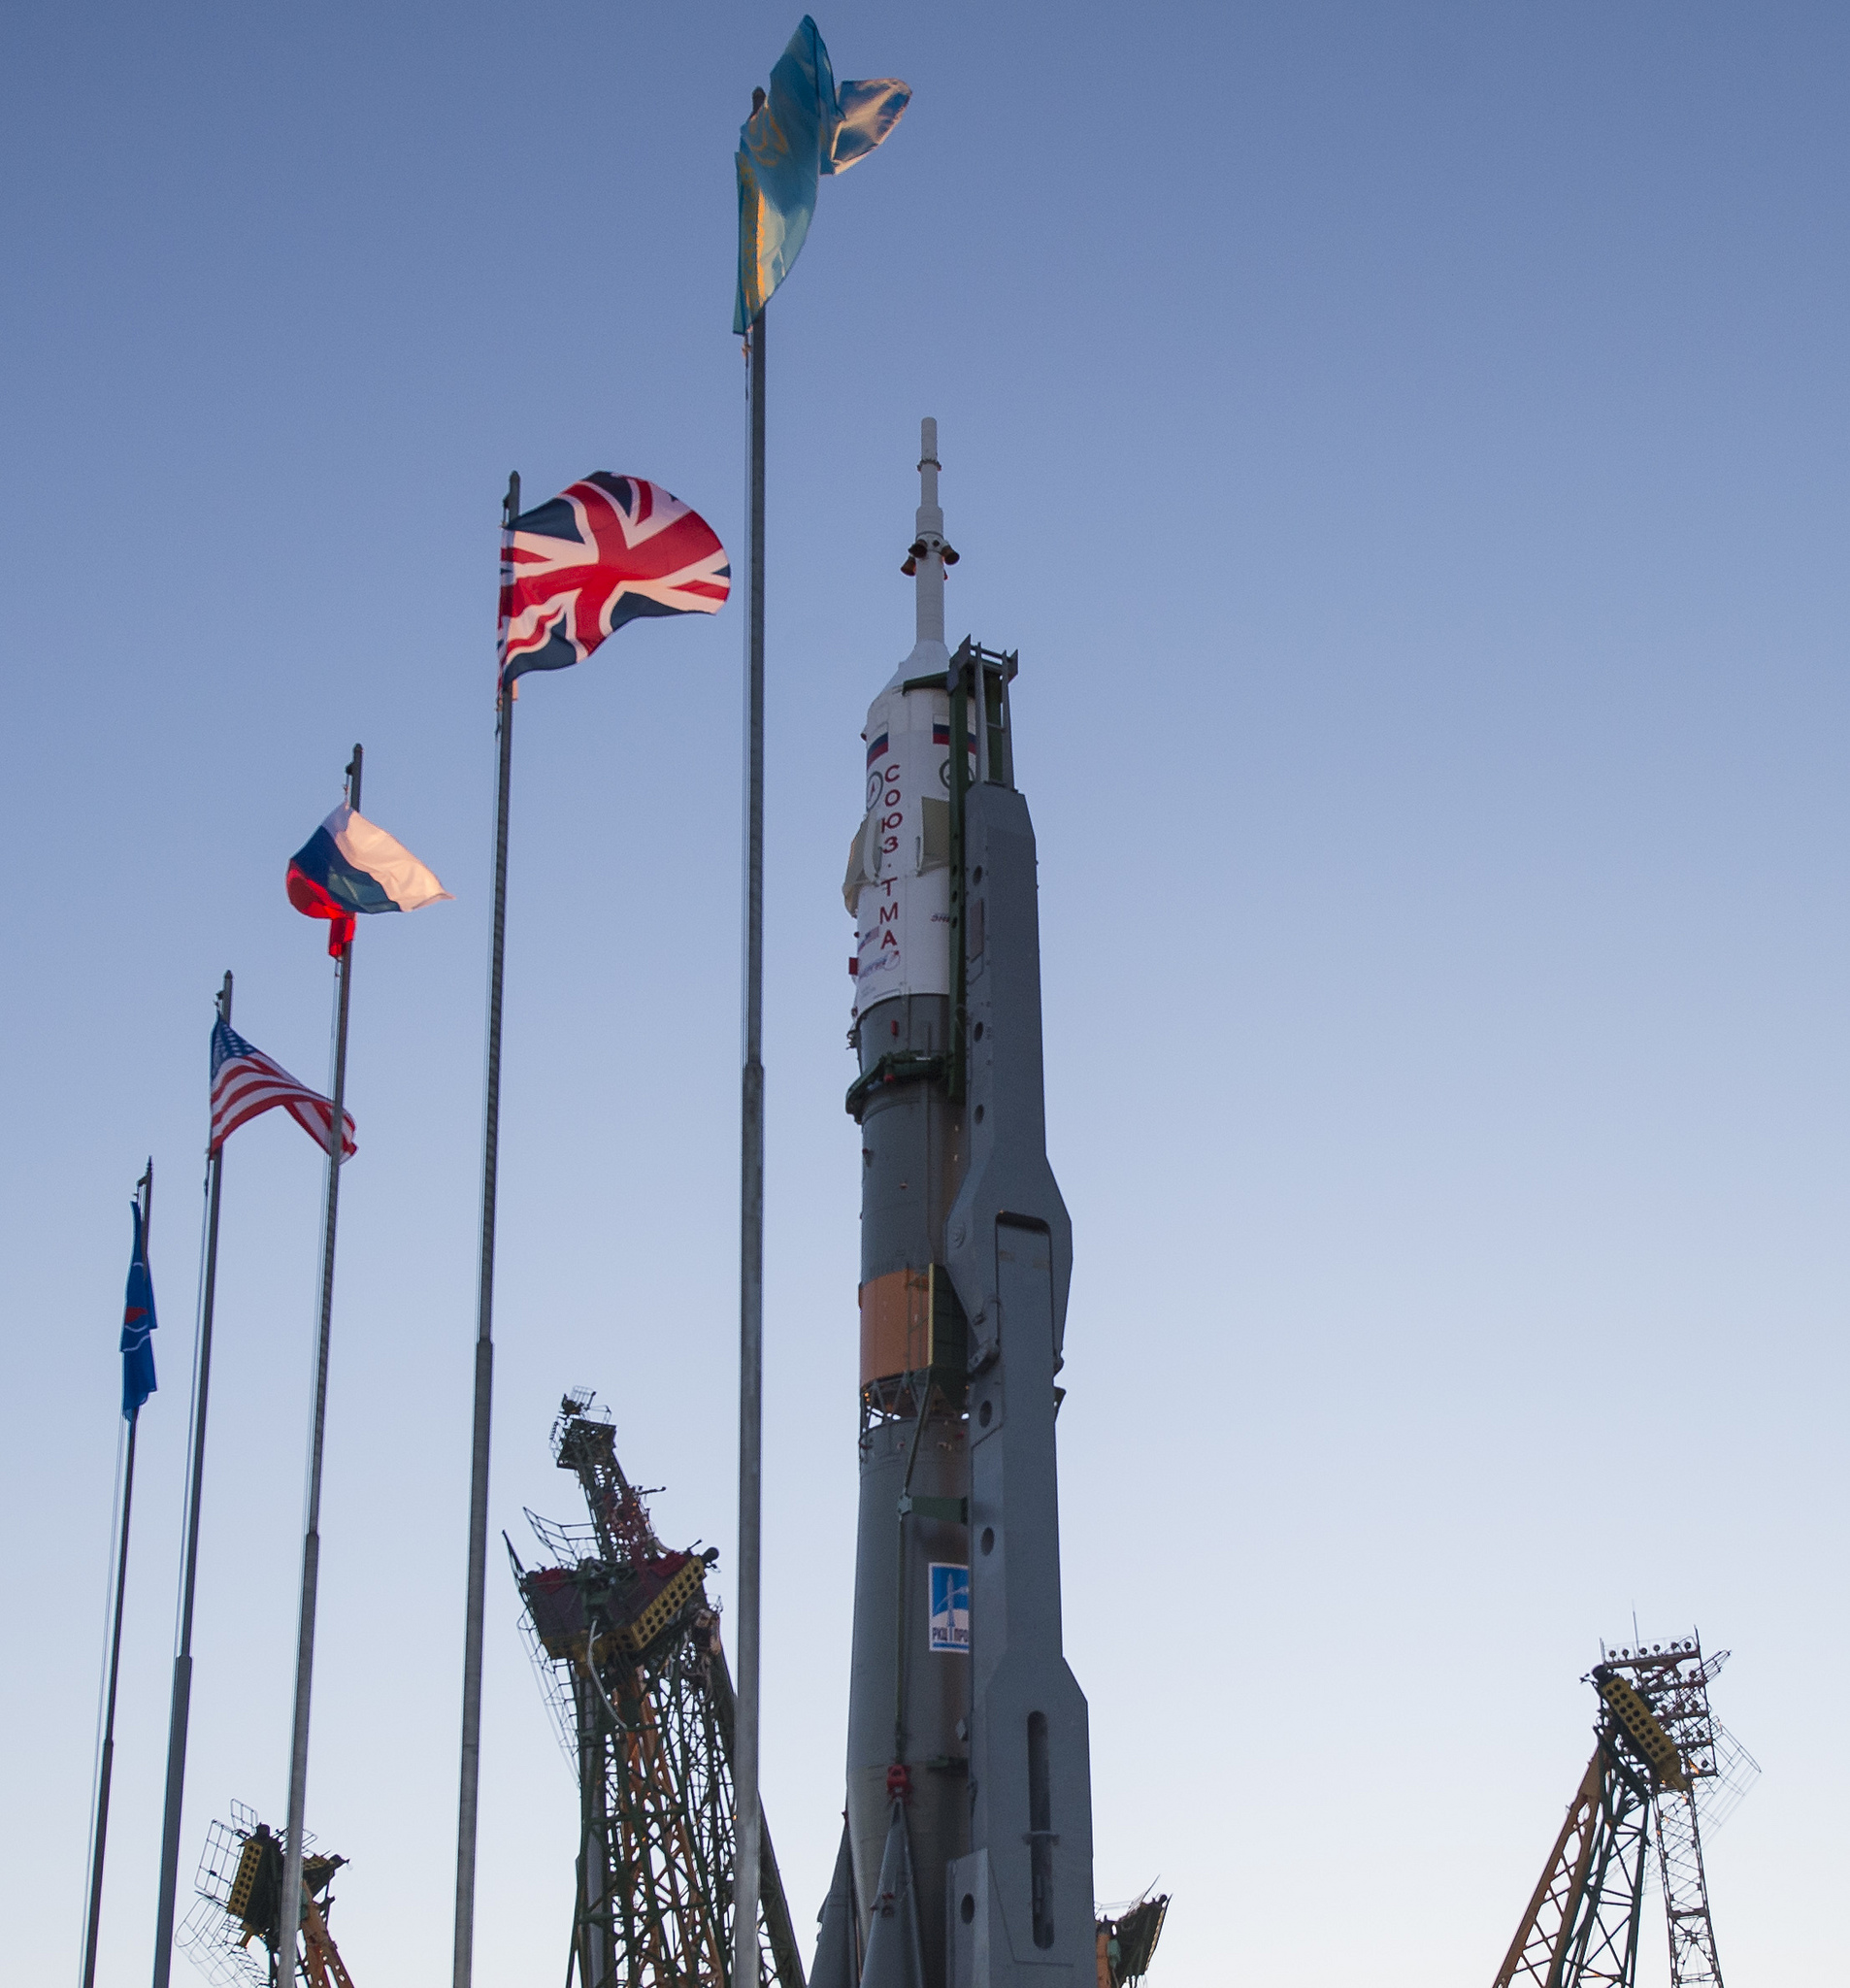
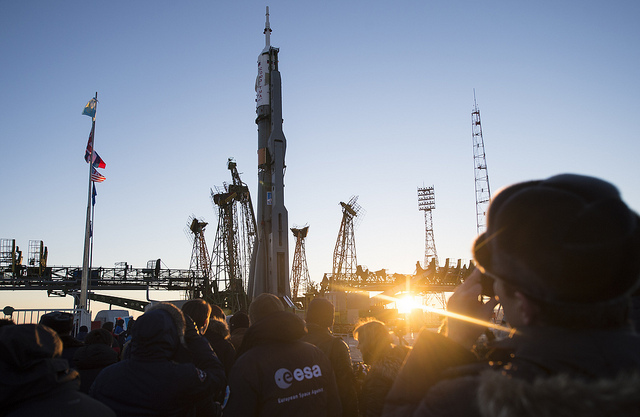
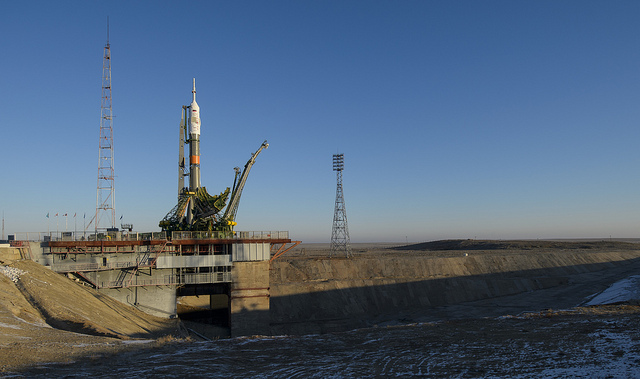
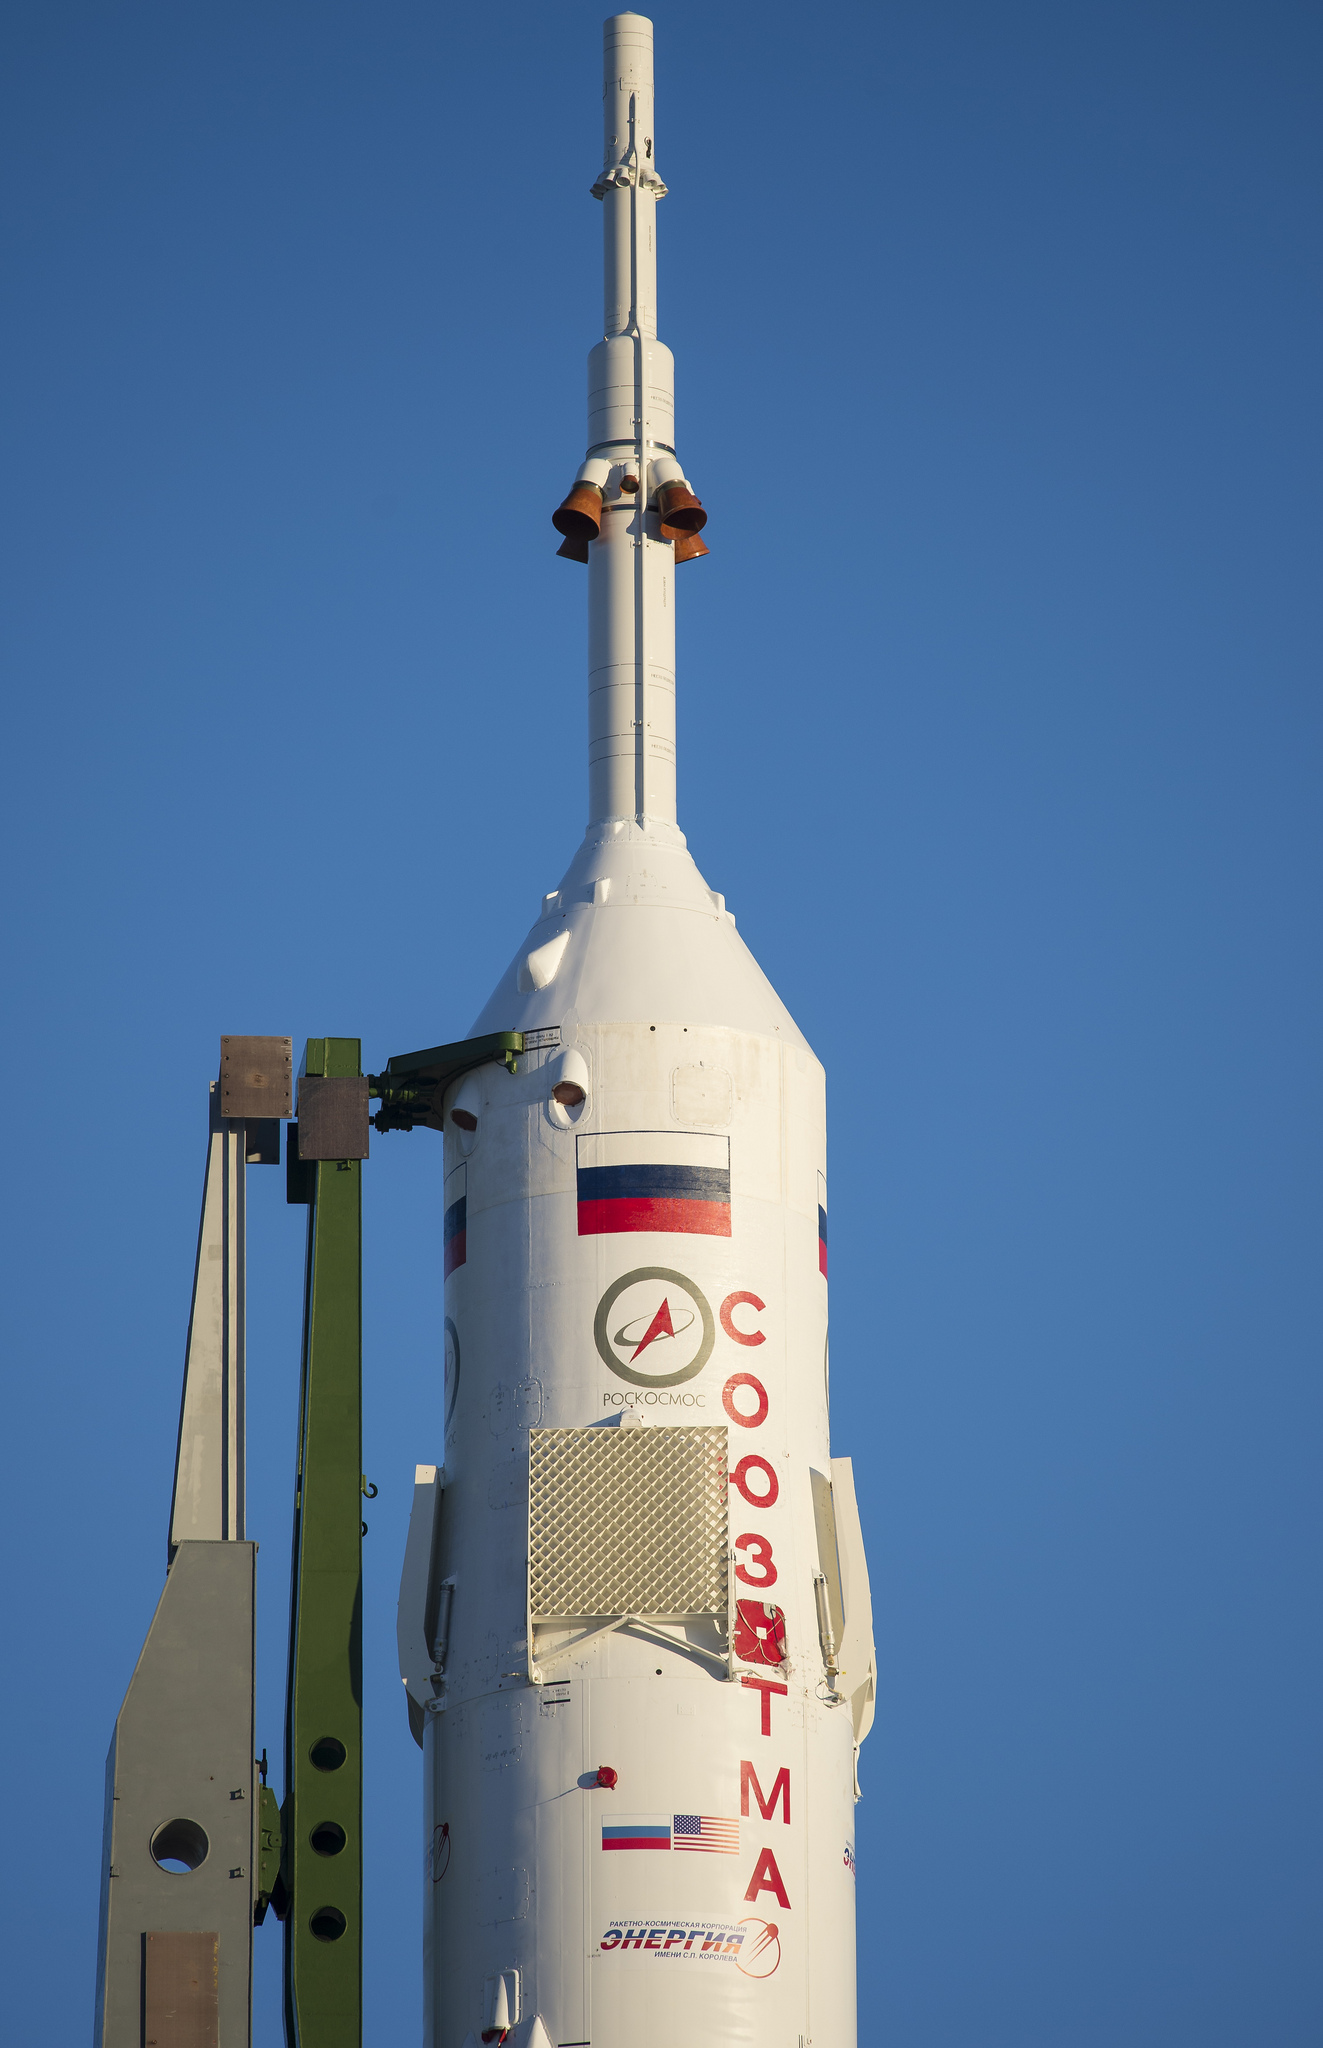
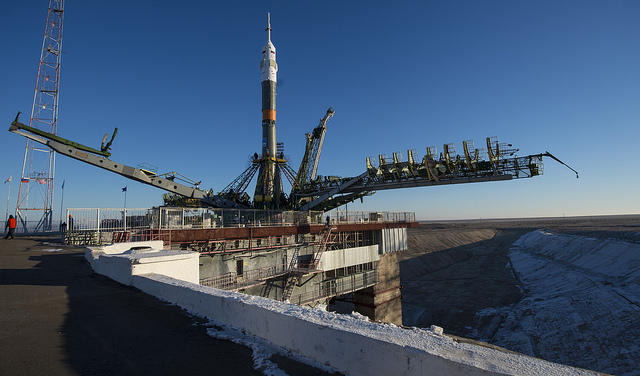
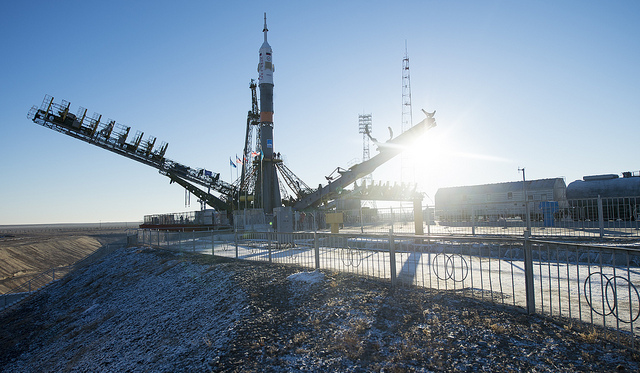
Tugged along a historic route leading to the launch pad where Yuri Gagarin took off 1961 to become the first person in space, a Soyuz rocket rolled out of its assembly hangar in Kazakhstan and stood up on its launch mount Sunday.

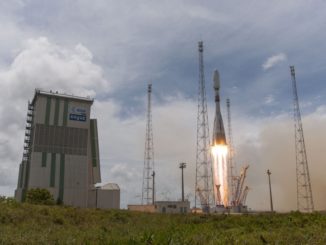
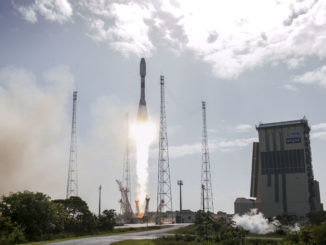
The photos below show the rollout at dawn, two days before the Soyuz rocket’s scheduled launch at 1103:10 GMT (6:03:10 a.m. EST) Tuesday with a three-man crew heading for the International Space Station.

Yuri Malenchenko, beginning his sixth space mission, will be in the commander’s seat of the Soyuz TMA-19M spacecraft. NASA astronaut Tim Kopra — on his second spaceflight — will sit to Malenchenko’s left acting as Soyuz flight engineer, and rookie European Space Agency astronaut Tim Peake will ride in the right seat.

The launch is set for 5:03 p.m. local time at the Baikonur Cosmodrome, the Central Asia launch base under a long-term lease by the Russian government.

The capsule will deploy in orbit less than nine minutes later, unfurl its solar panels and navigation antennas, then begin a series of engine firings to match the space station’s trajectory, setting up for a docking to the lab’s Rassvet module at 1724 GMT (12:24 p.m. EST).

The Soyuz docking will raise the station’s crew size back to six, with the fresh crewmen joining commander Scott Kelly and cosmonauts Mikhail Kornienko and Sergey Volkov.

Photo credit: NASA/Joel Kowsky
Photo credit: ESA–Stephane Corvaja, 2015
Photo credit: NASA/Joel Kowsky
Photo credit: ESA–Stephane Corvaja, 2015
Photo credit: NASA/Joel Kowsky
Photo credit: ESA–Stephane Corvaja, 2015
Photo credit: NASA/Joel Kowsky

Email the author.

Follow Stephen Clark on Twitter: @StephenClark1.