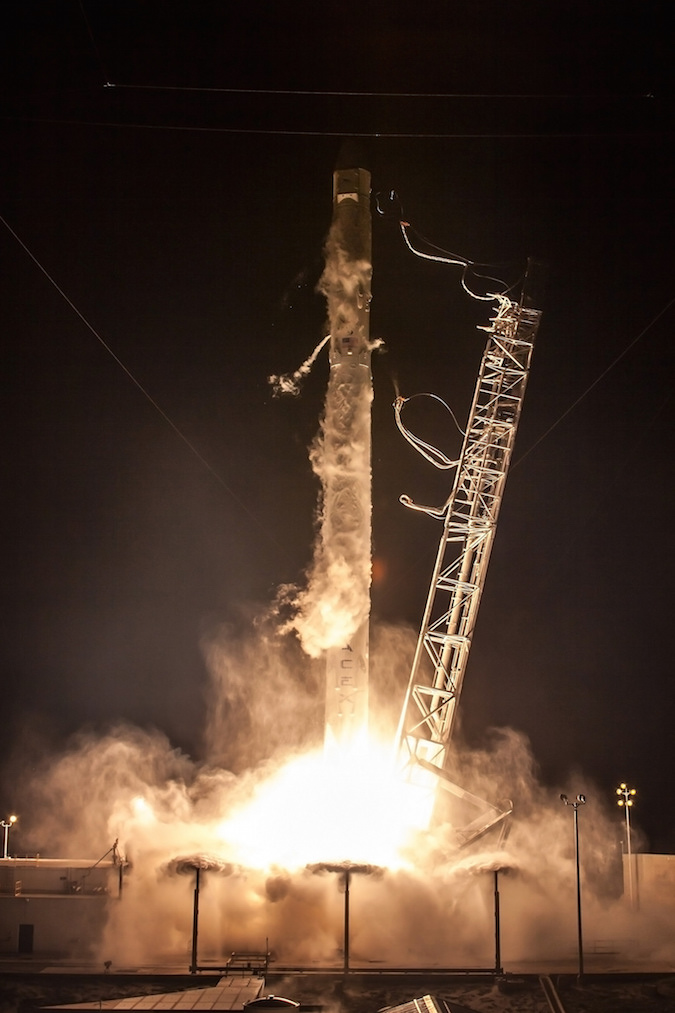
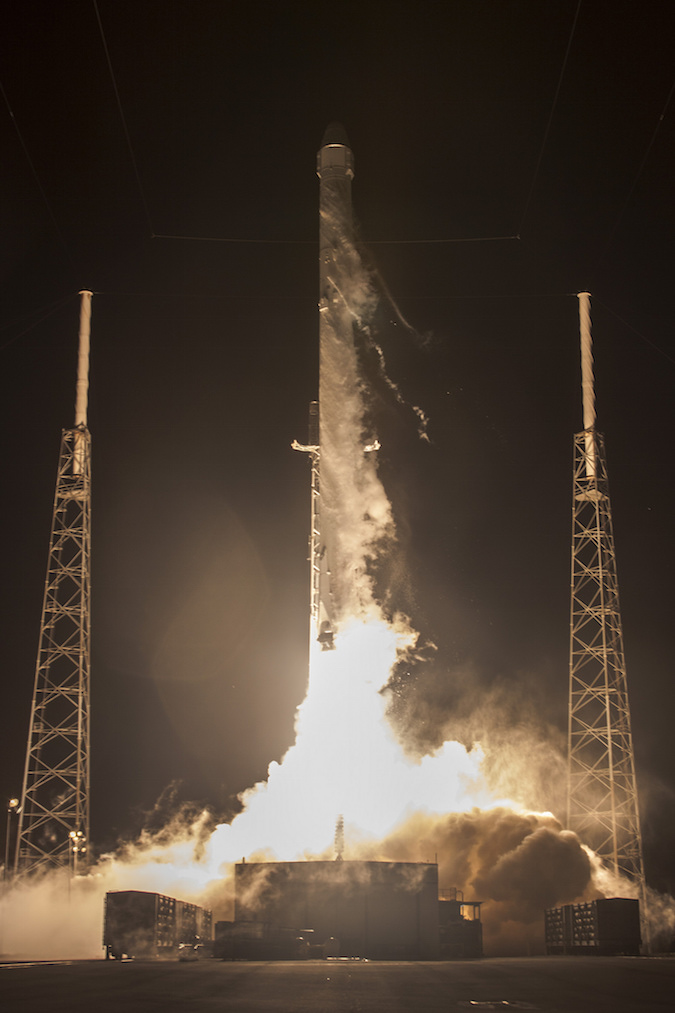
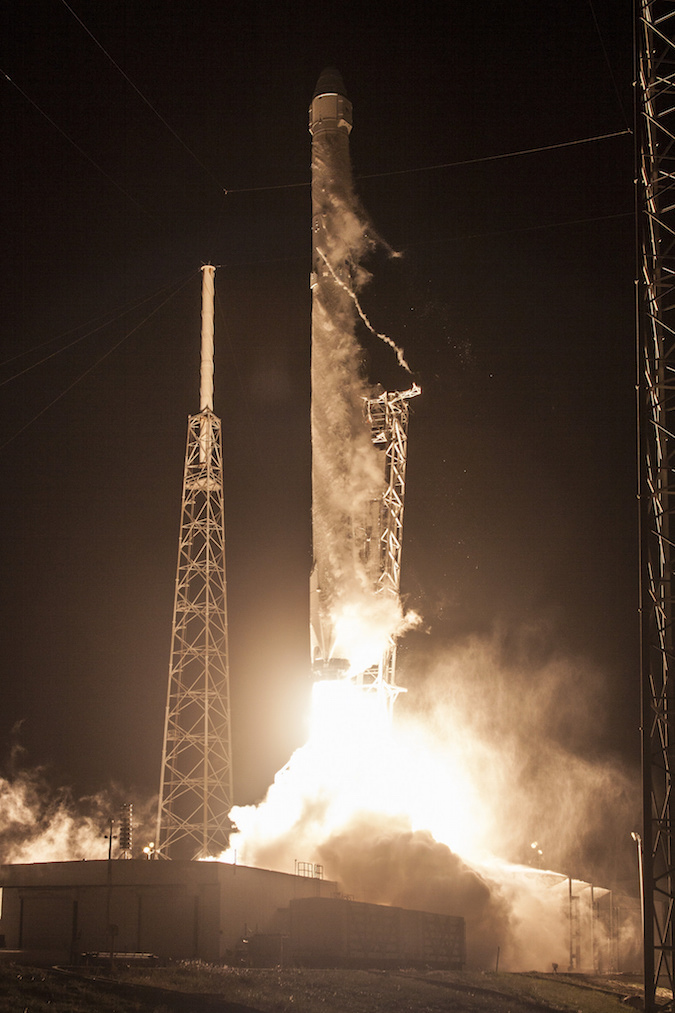
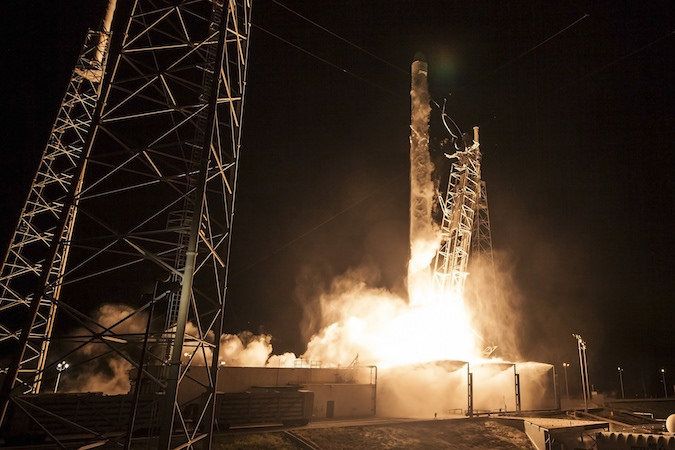
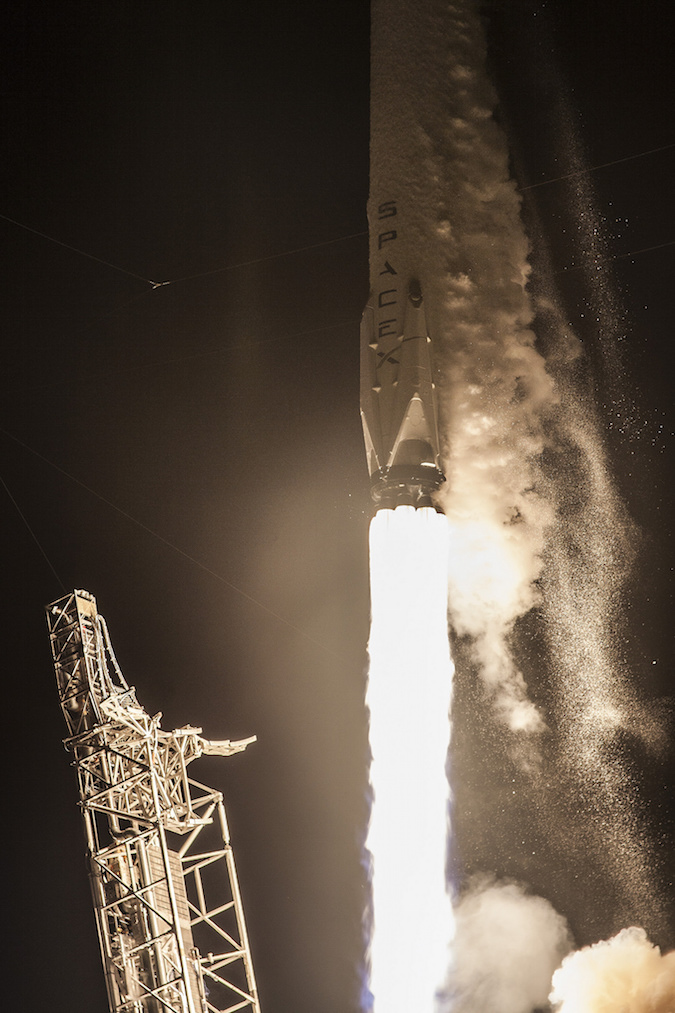
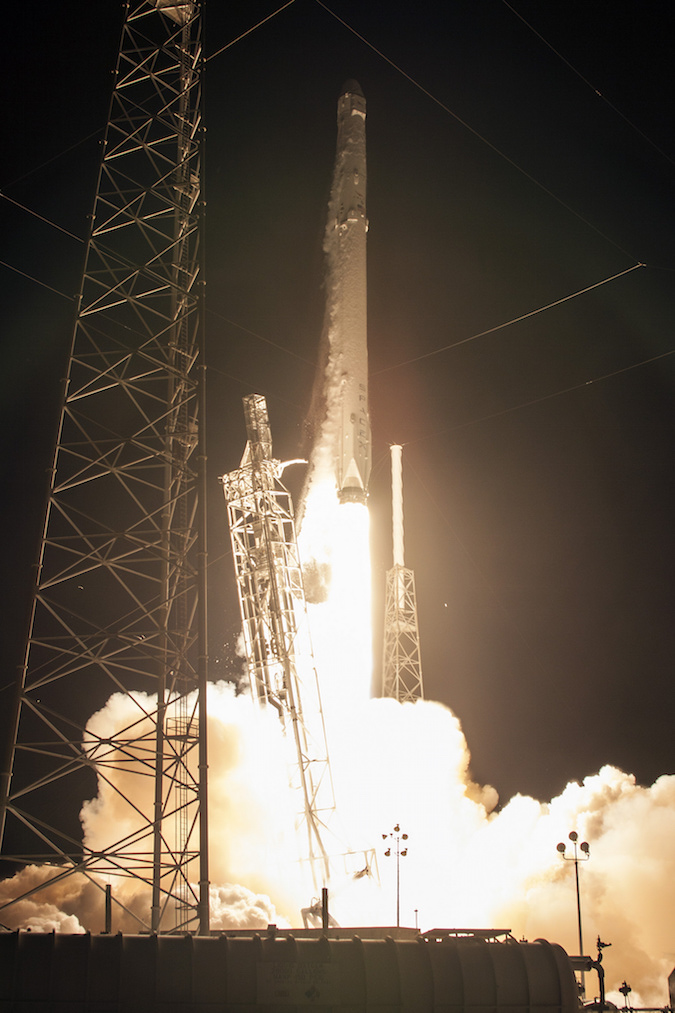
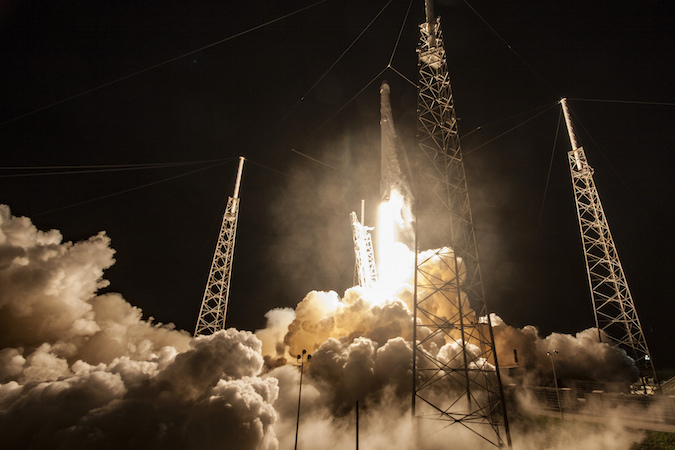
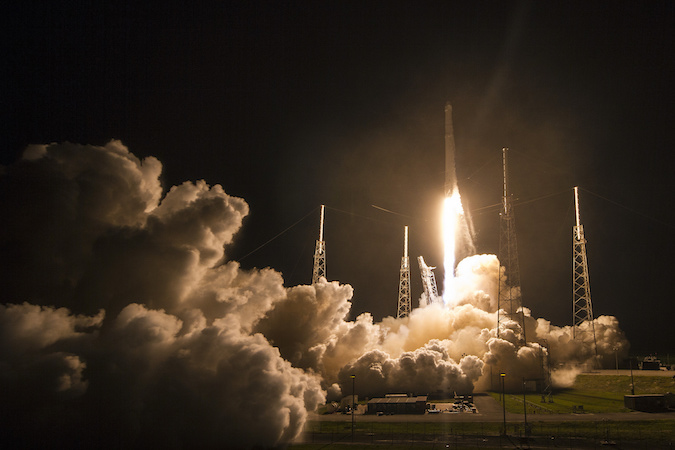
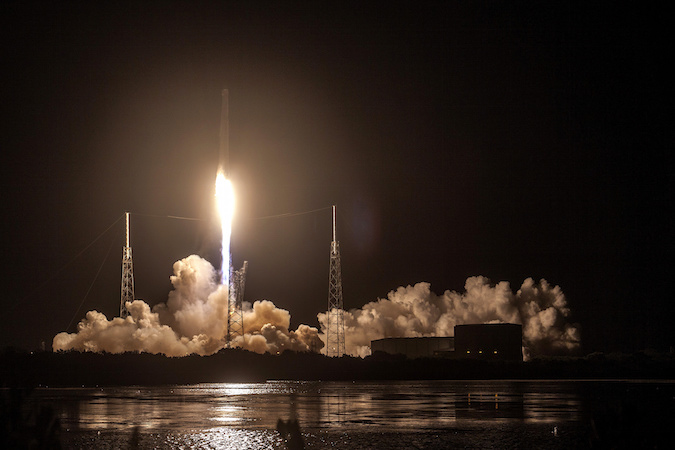
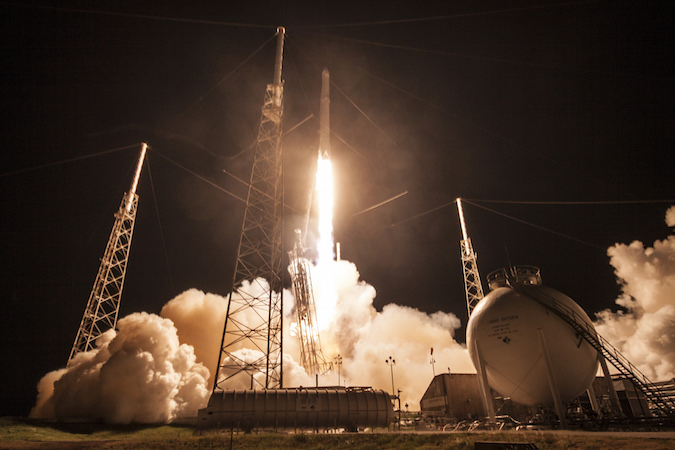
Taking off and landing in the middle of the night at Cape Canaveral, a SpaceX Falcon 9 rocket successfully delivered a Dragon supply ship to orbit for the International Space Station as the launcher’s first stage booster swooped to a spectacular touchdown.
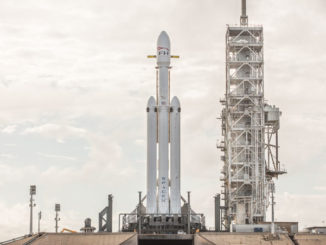
The 213-foot-tall (65-meter) Falcon 9 rocket blasted off at 12:45:29 a.m. EDT (0445:29 GMT) Monday from Cape Canaveral’s Complex 40 launch pad.
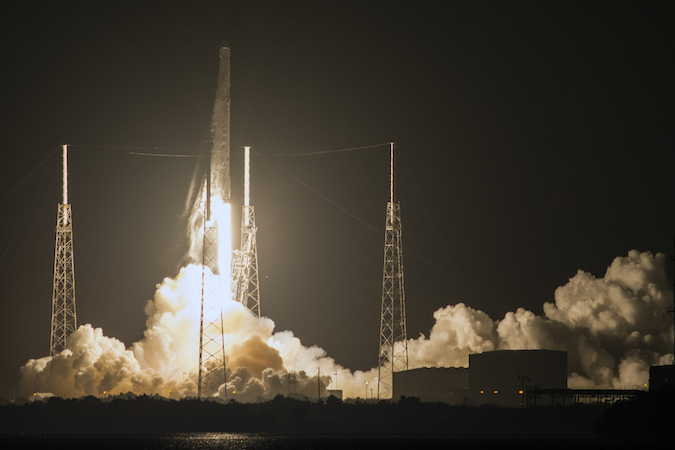
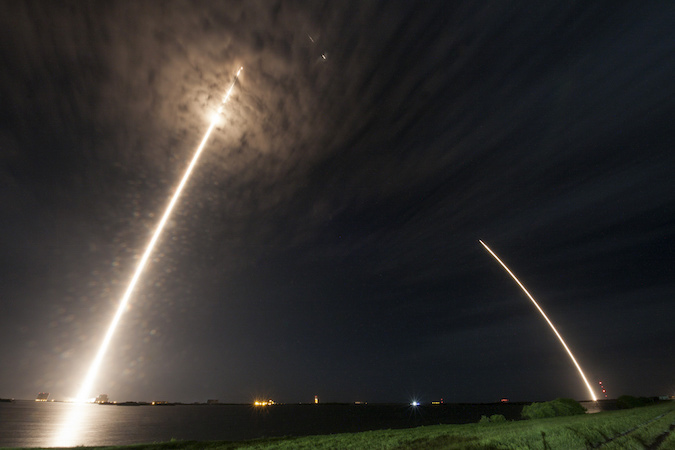
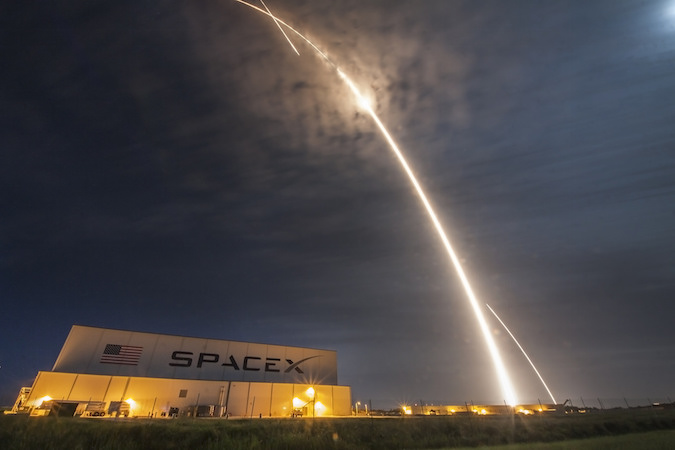
Less than two-and-a-half minutes later, as the rocket steered northeast from the Florida launch base, the Falcon 9’s first and second stages separated, beginning a dramatic set of simultaneous maneuvers to place SpaceX’s commercial dragon supply ship into orbit and return the 15-story first stage booster to Earth intact.
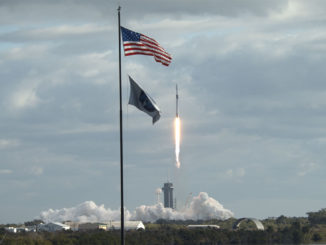
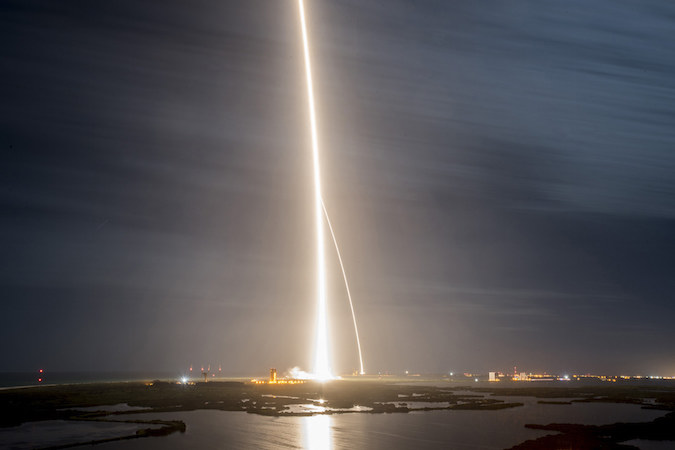
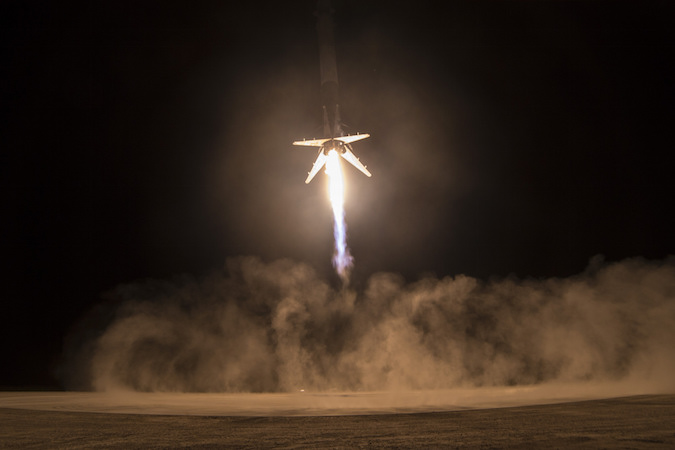
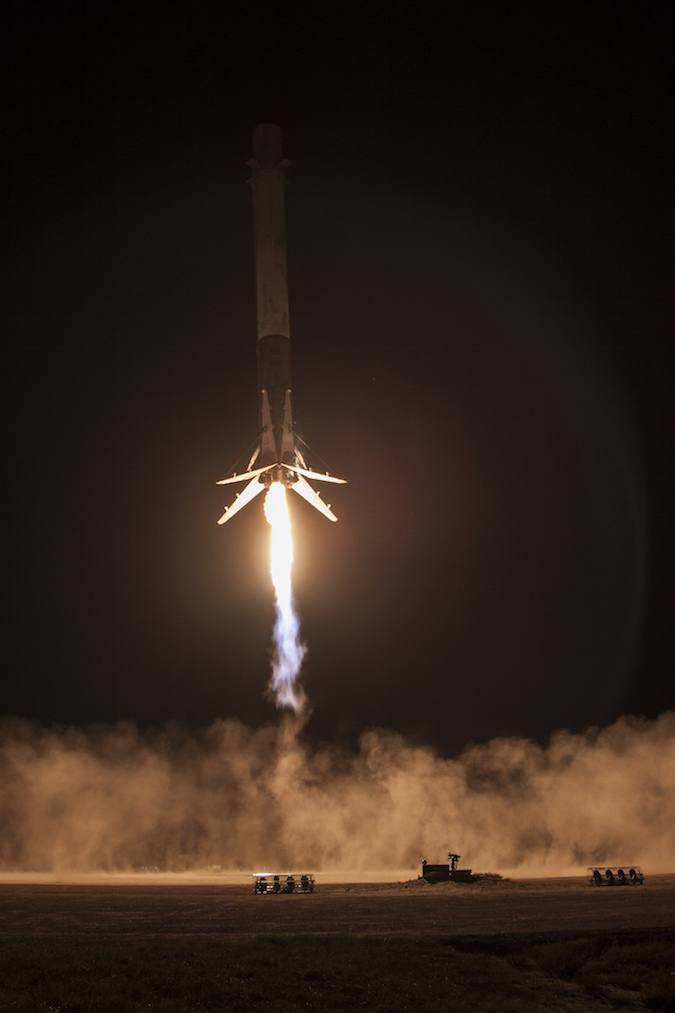
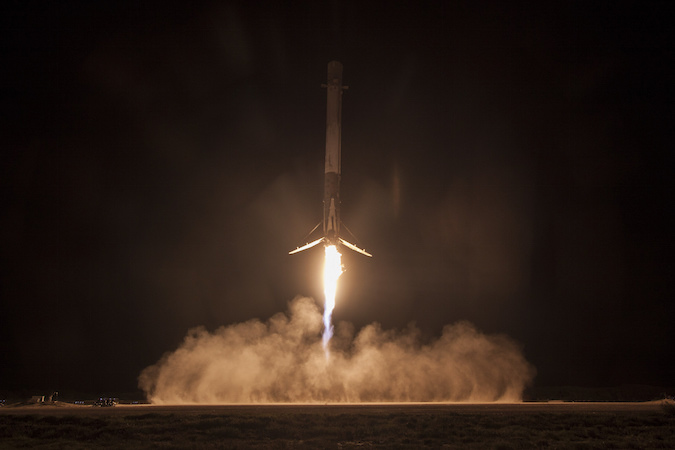
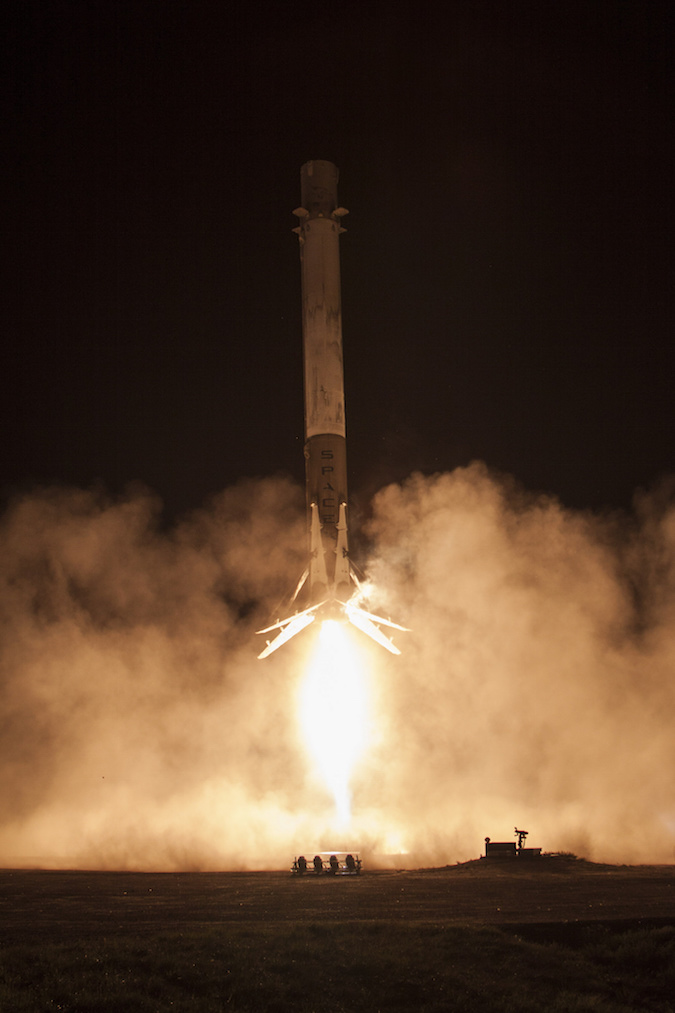
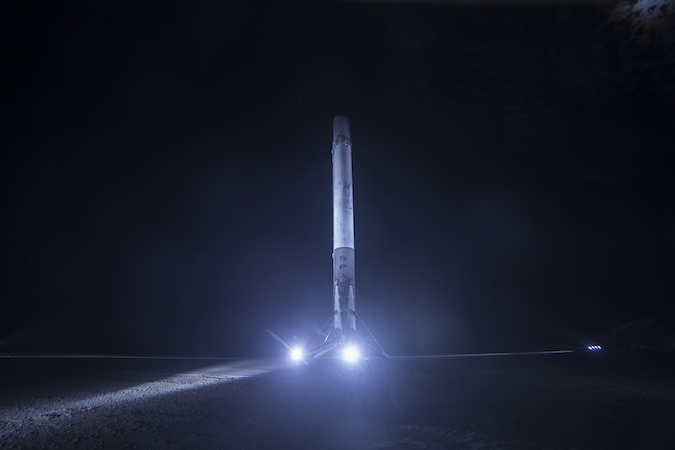
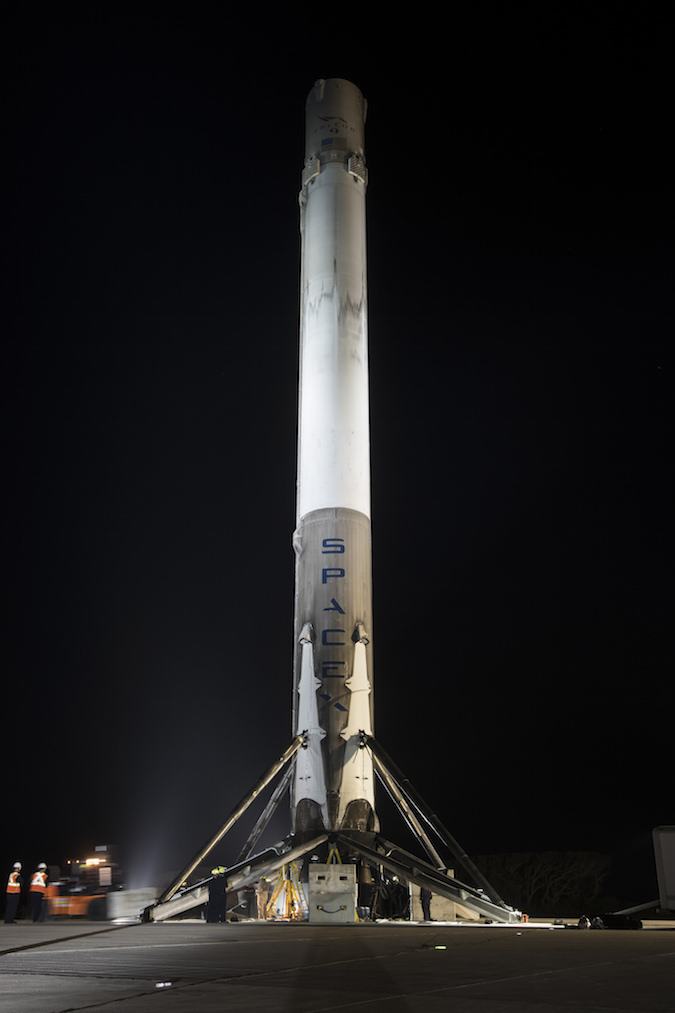
A subset of the first stage’s Merlin engines ignited three times to propel the booster back toward Cape Canaveral — reversing course more than 40 miles (65 kilometers) in altitude — and slam on the brakes just before touching down at Landing Zone 1, a facility a few miles south from the Falcon 9 launch pad, to complete the supersonic descent.
The images below show the Falcon 9’s launch from Complex 40, plus a sequence of long-exposure photographs illustrating the path the rocket took during ascent and descent. Finally, remote cameras captured a view of the rocket coming back to Earth at Landing Zone 1, where it stood ready for inspections, and eventually another mission.

Email the author.
Follow Stephen Clark on Twitter: @StephenClark1.