From all angles: Up and down with SpaceX’s Falcon 9 booster

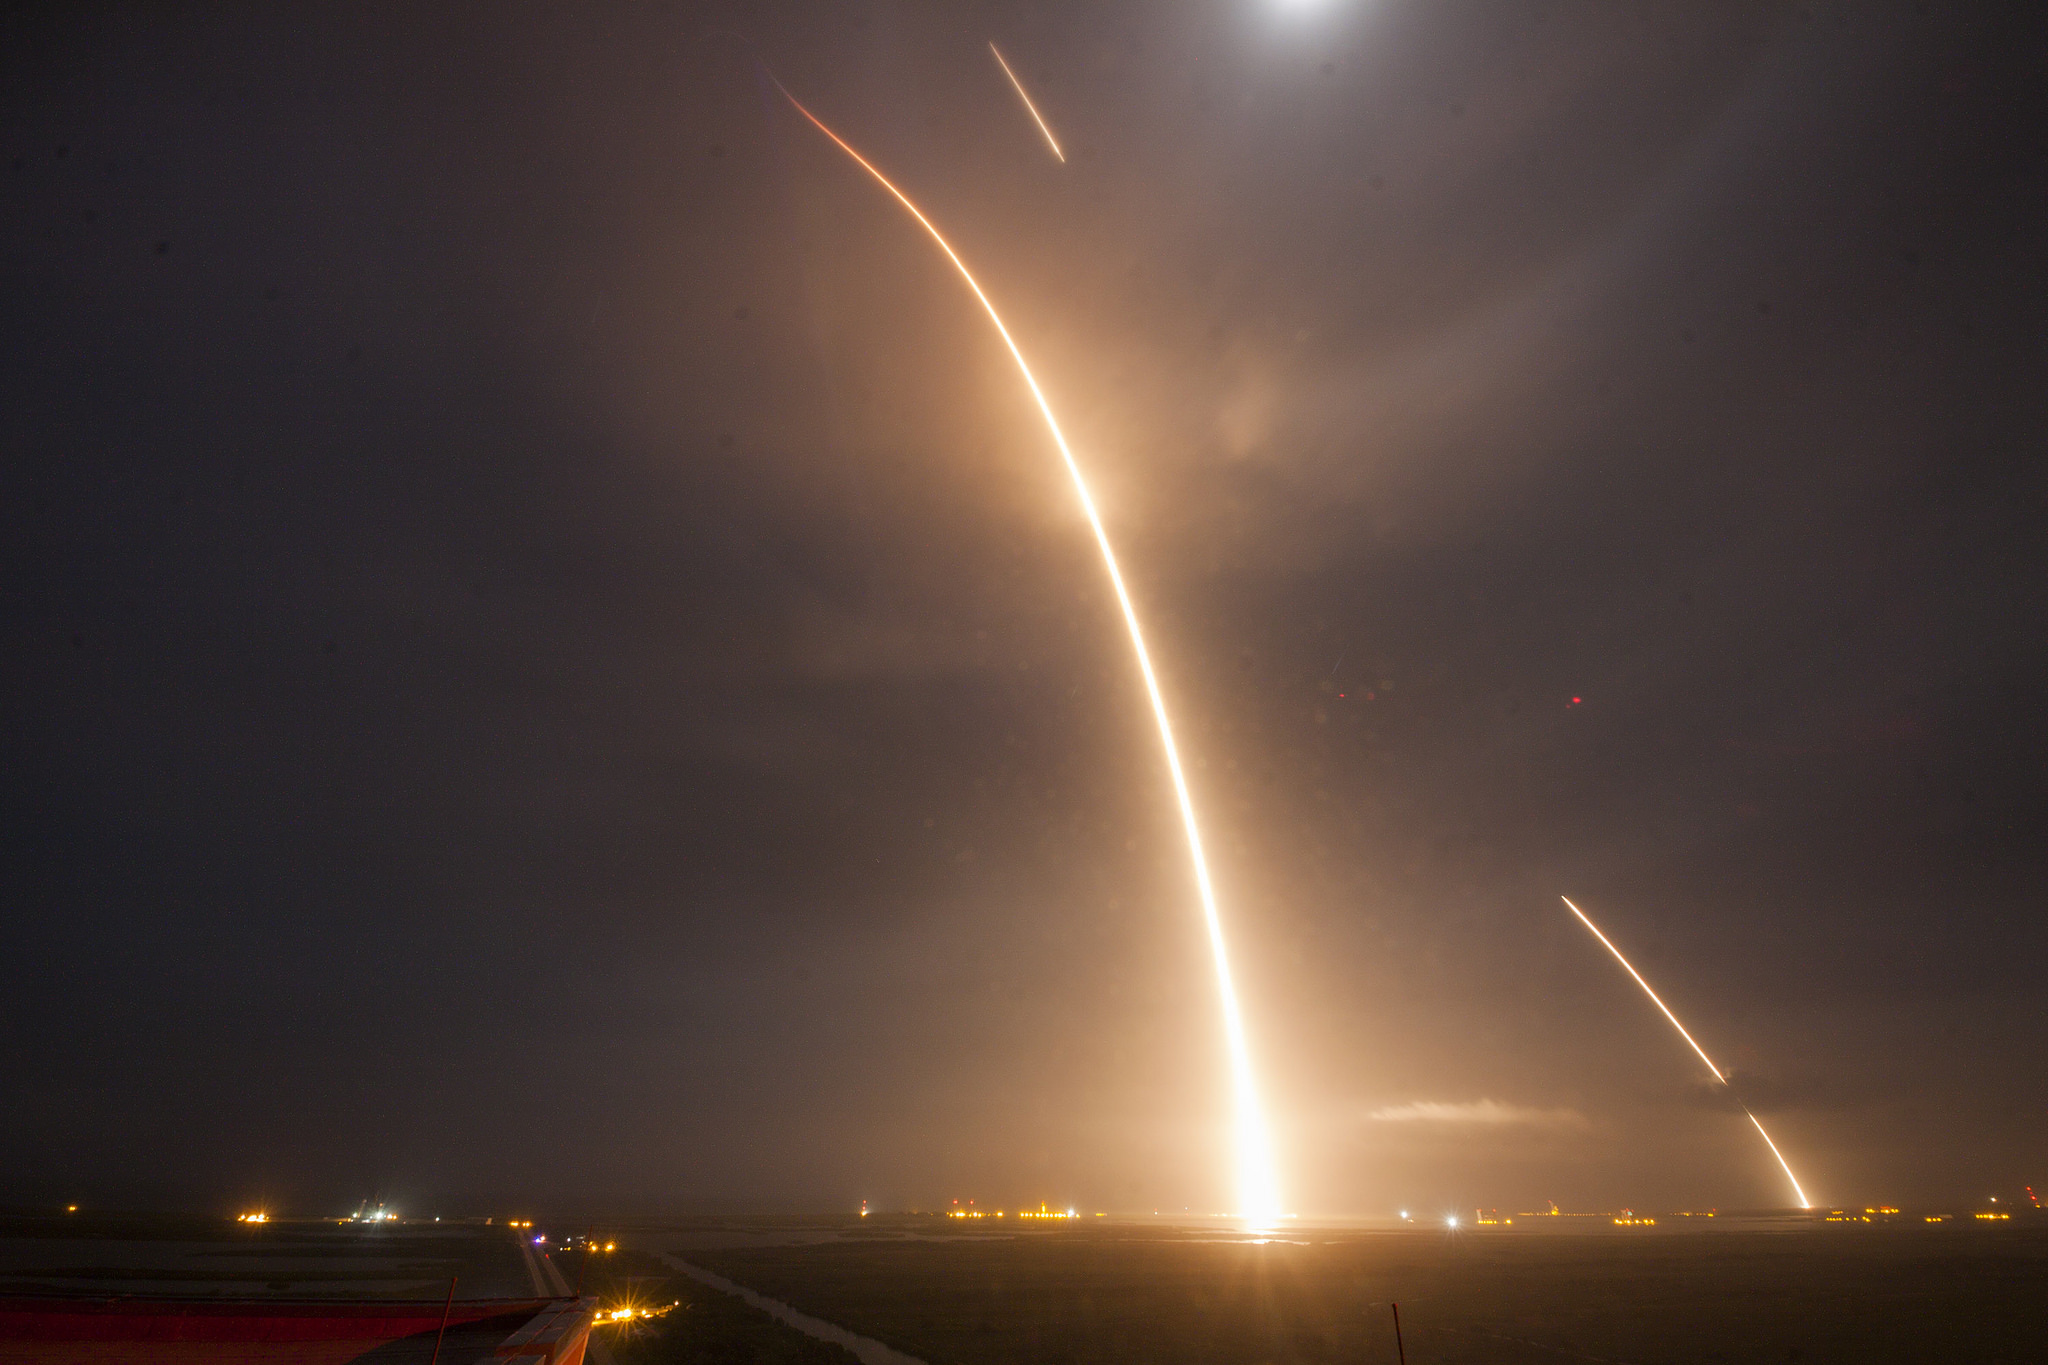
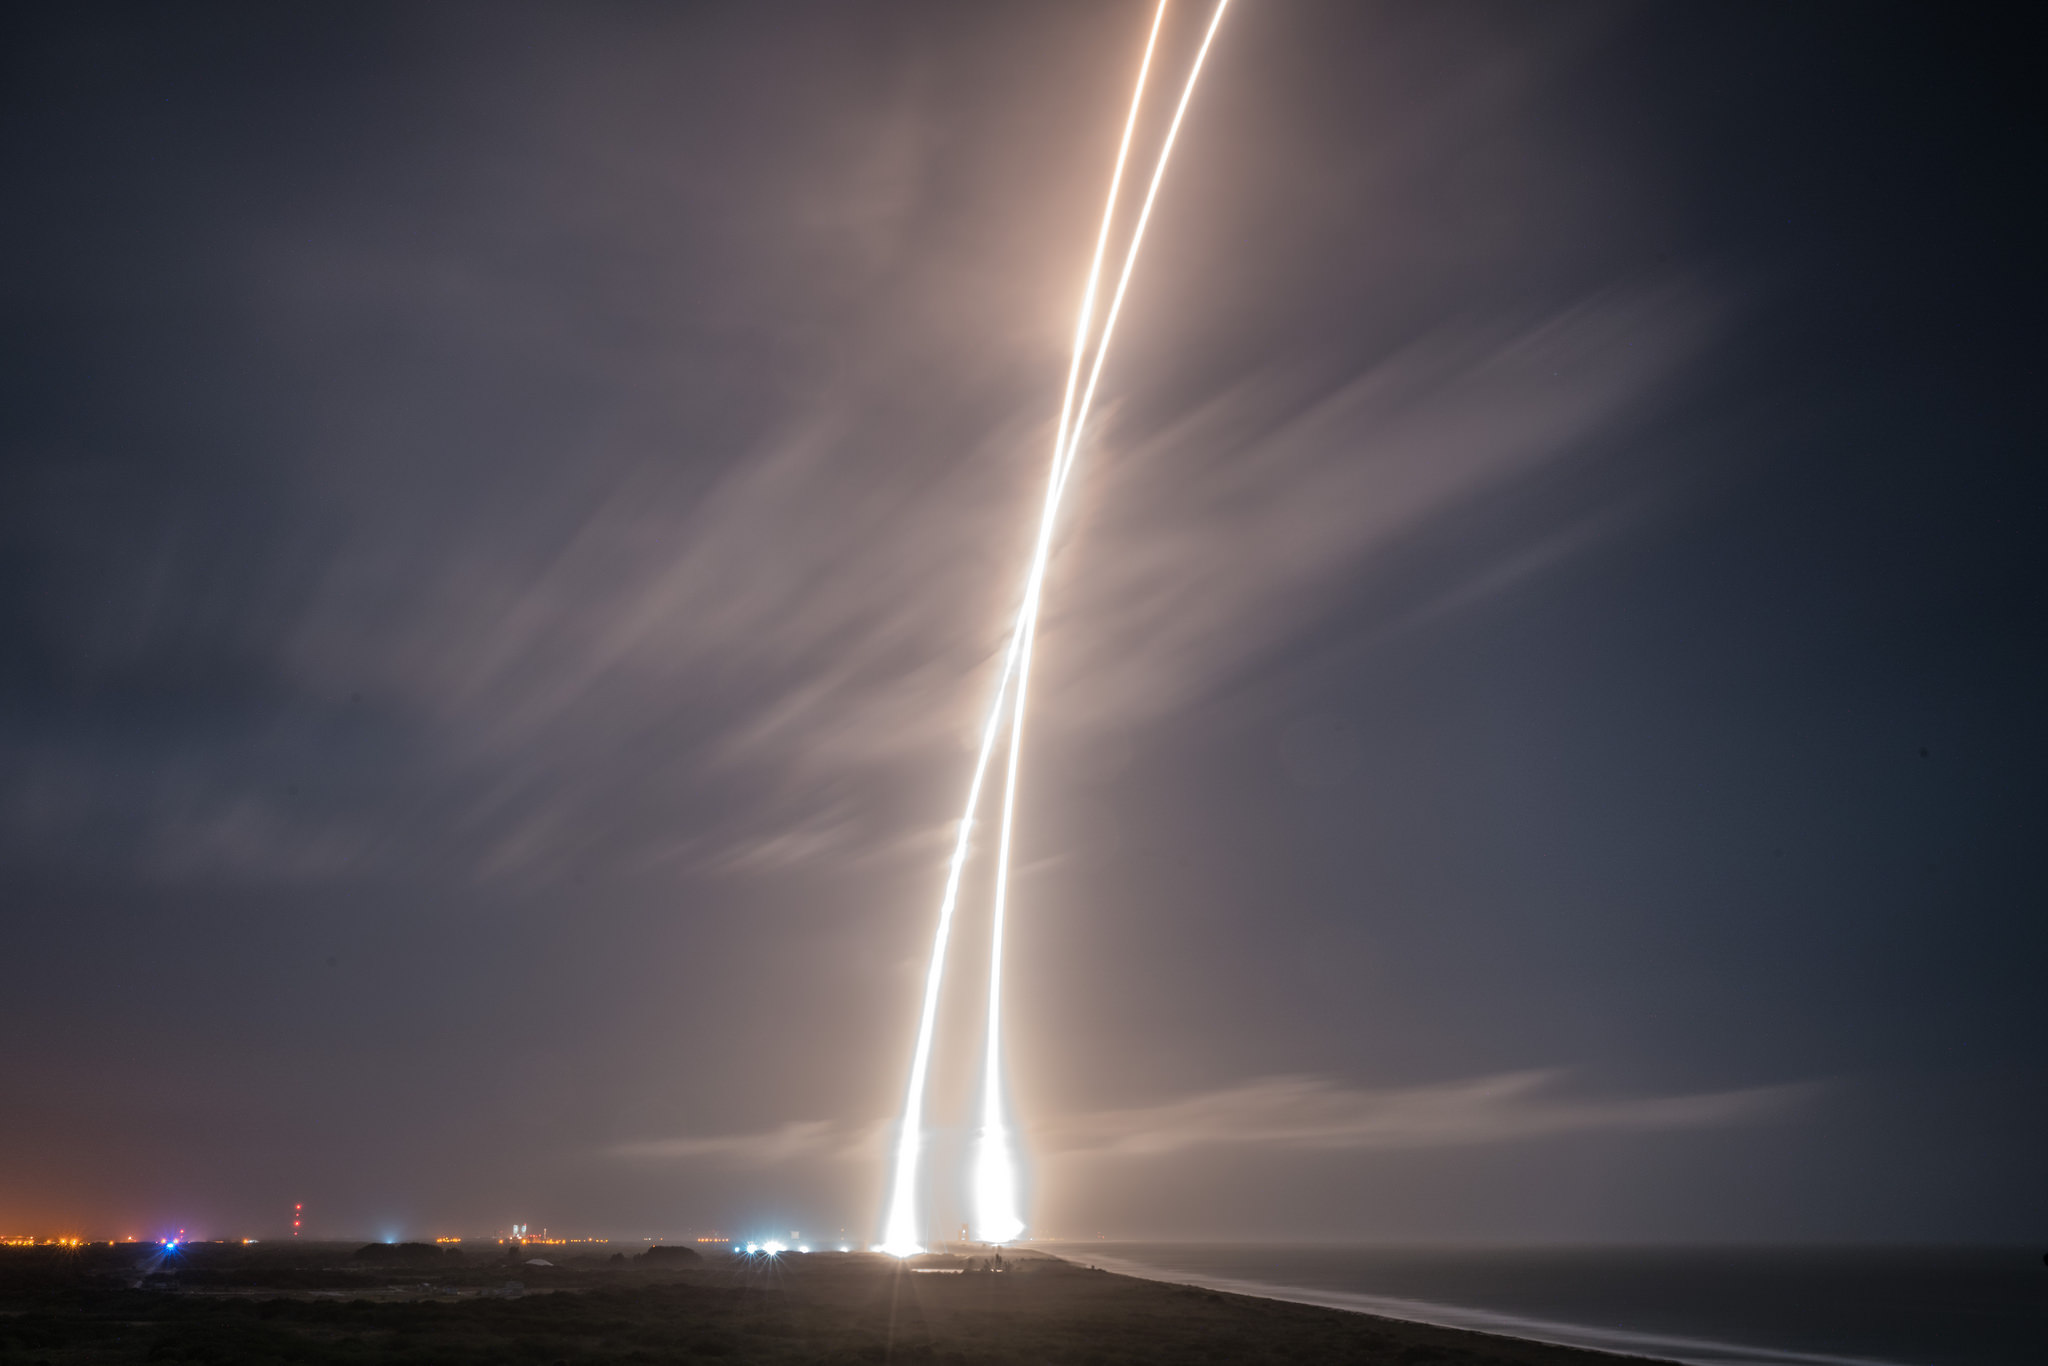
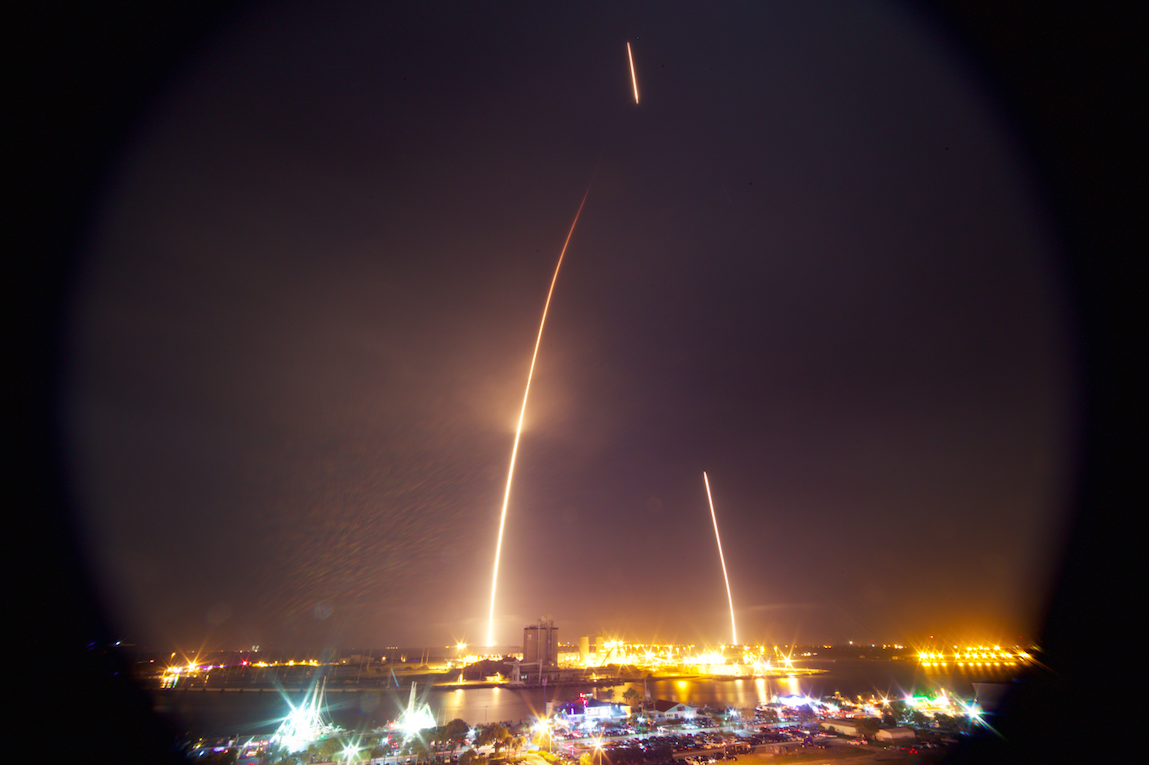
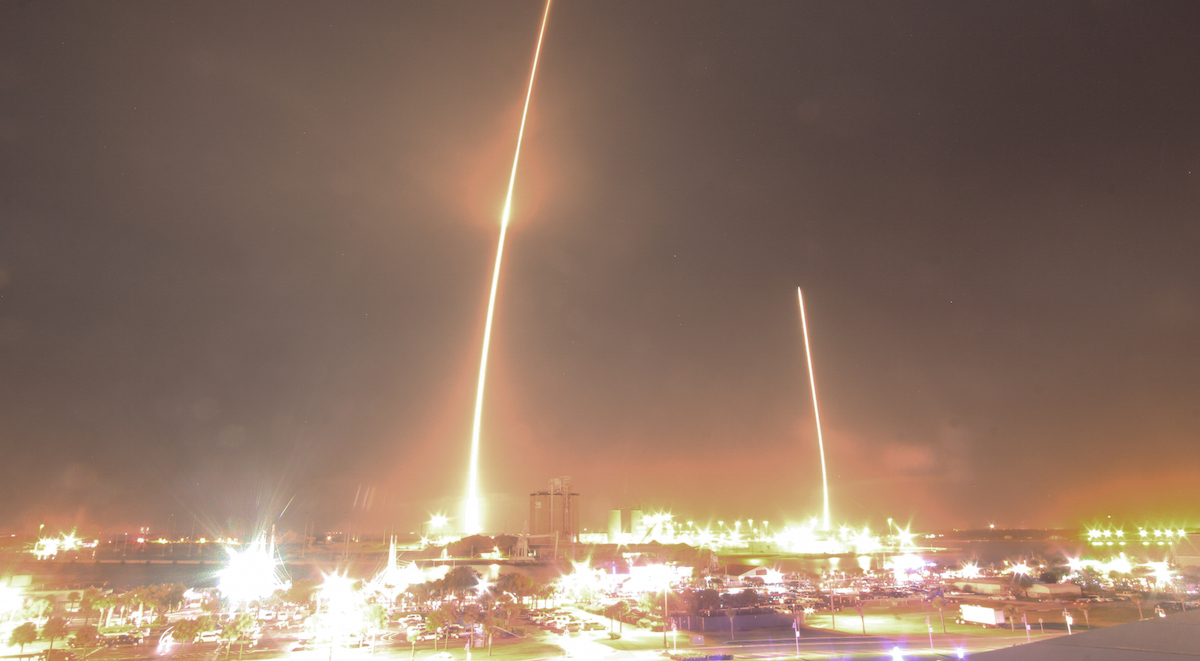
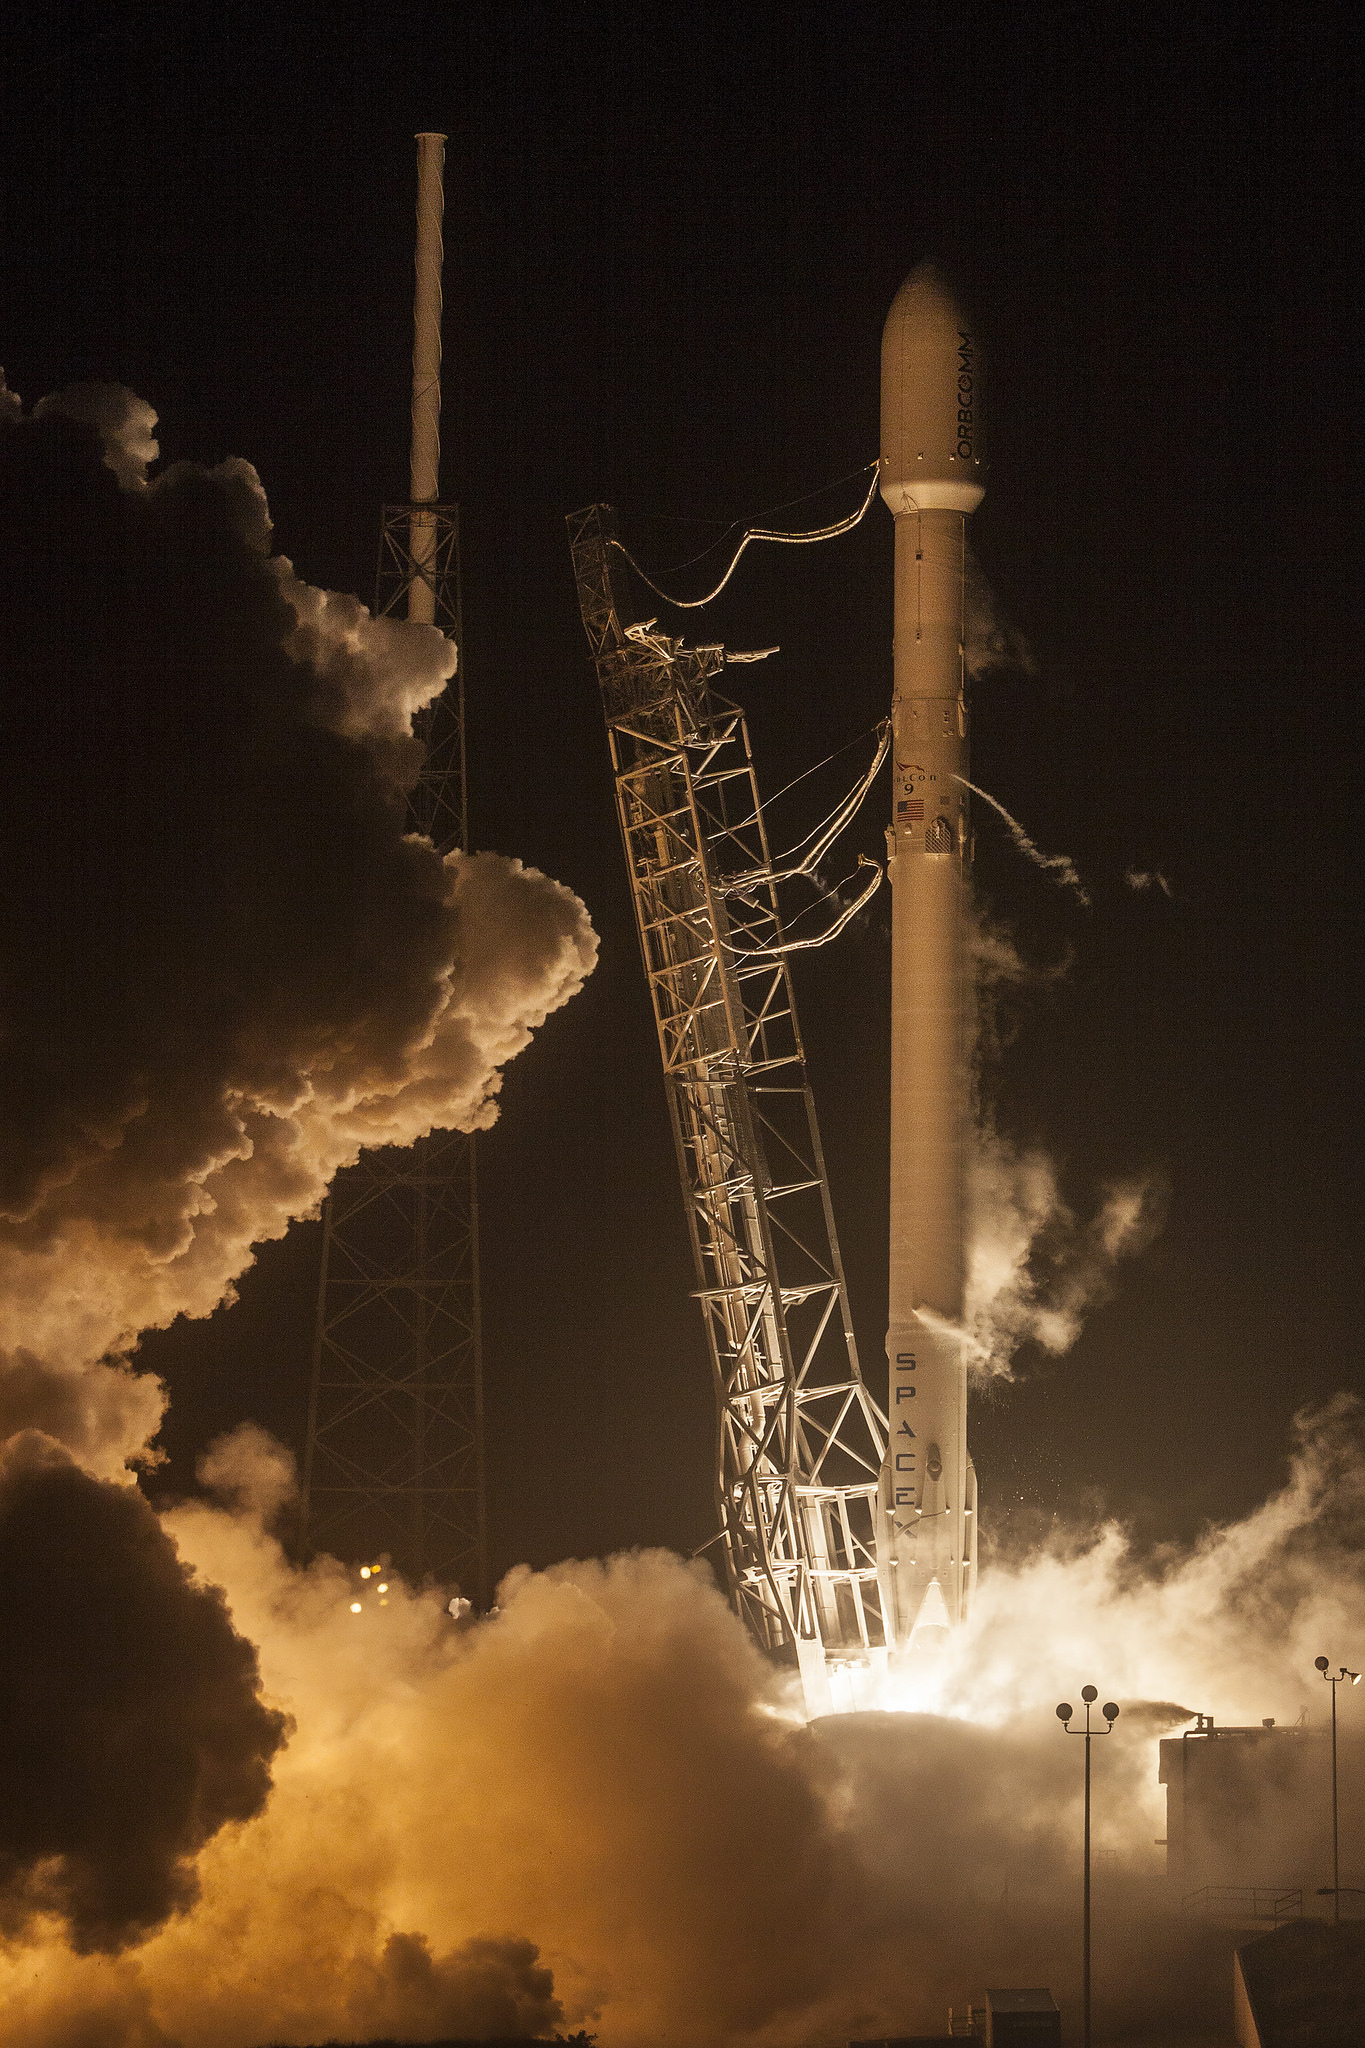
Relive the experience with imagery from Monday night’s blazing blastoff of a Falcon 9 rocket and its historic, dramatic landing at Cape Canaveral.

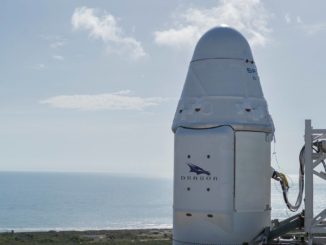
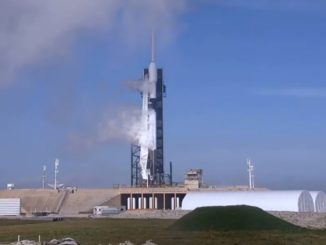
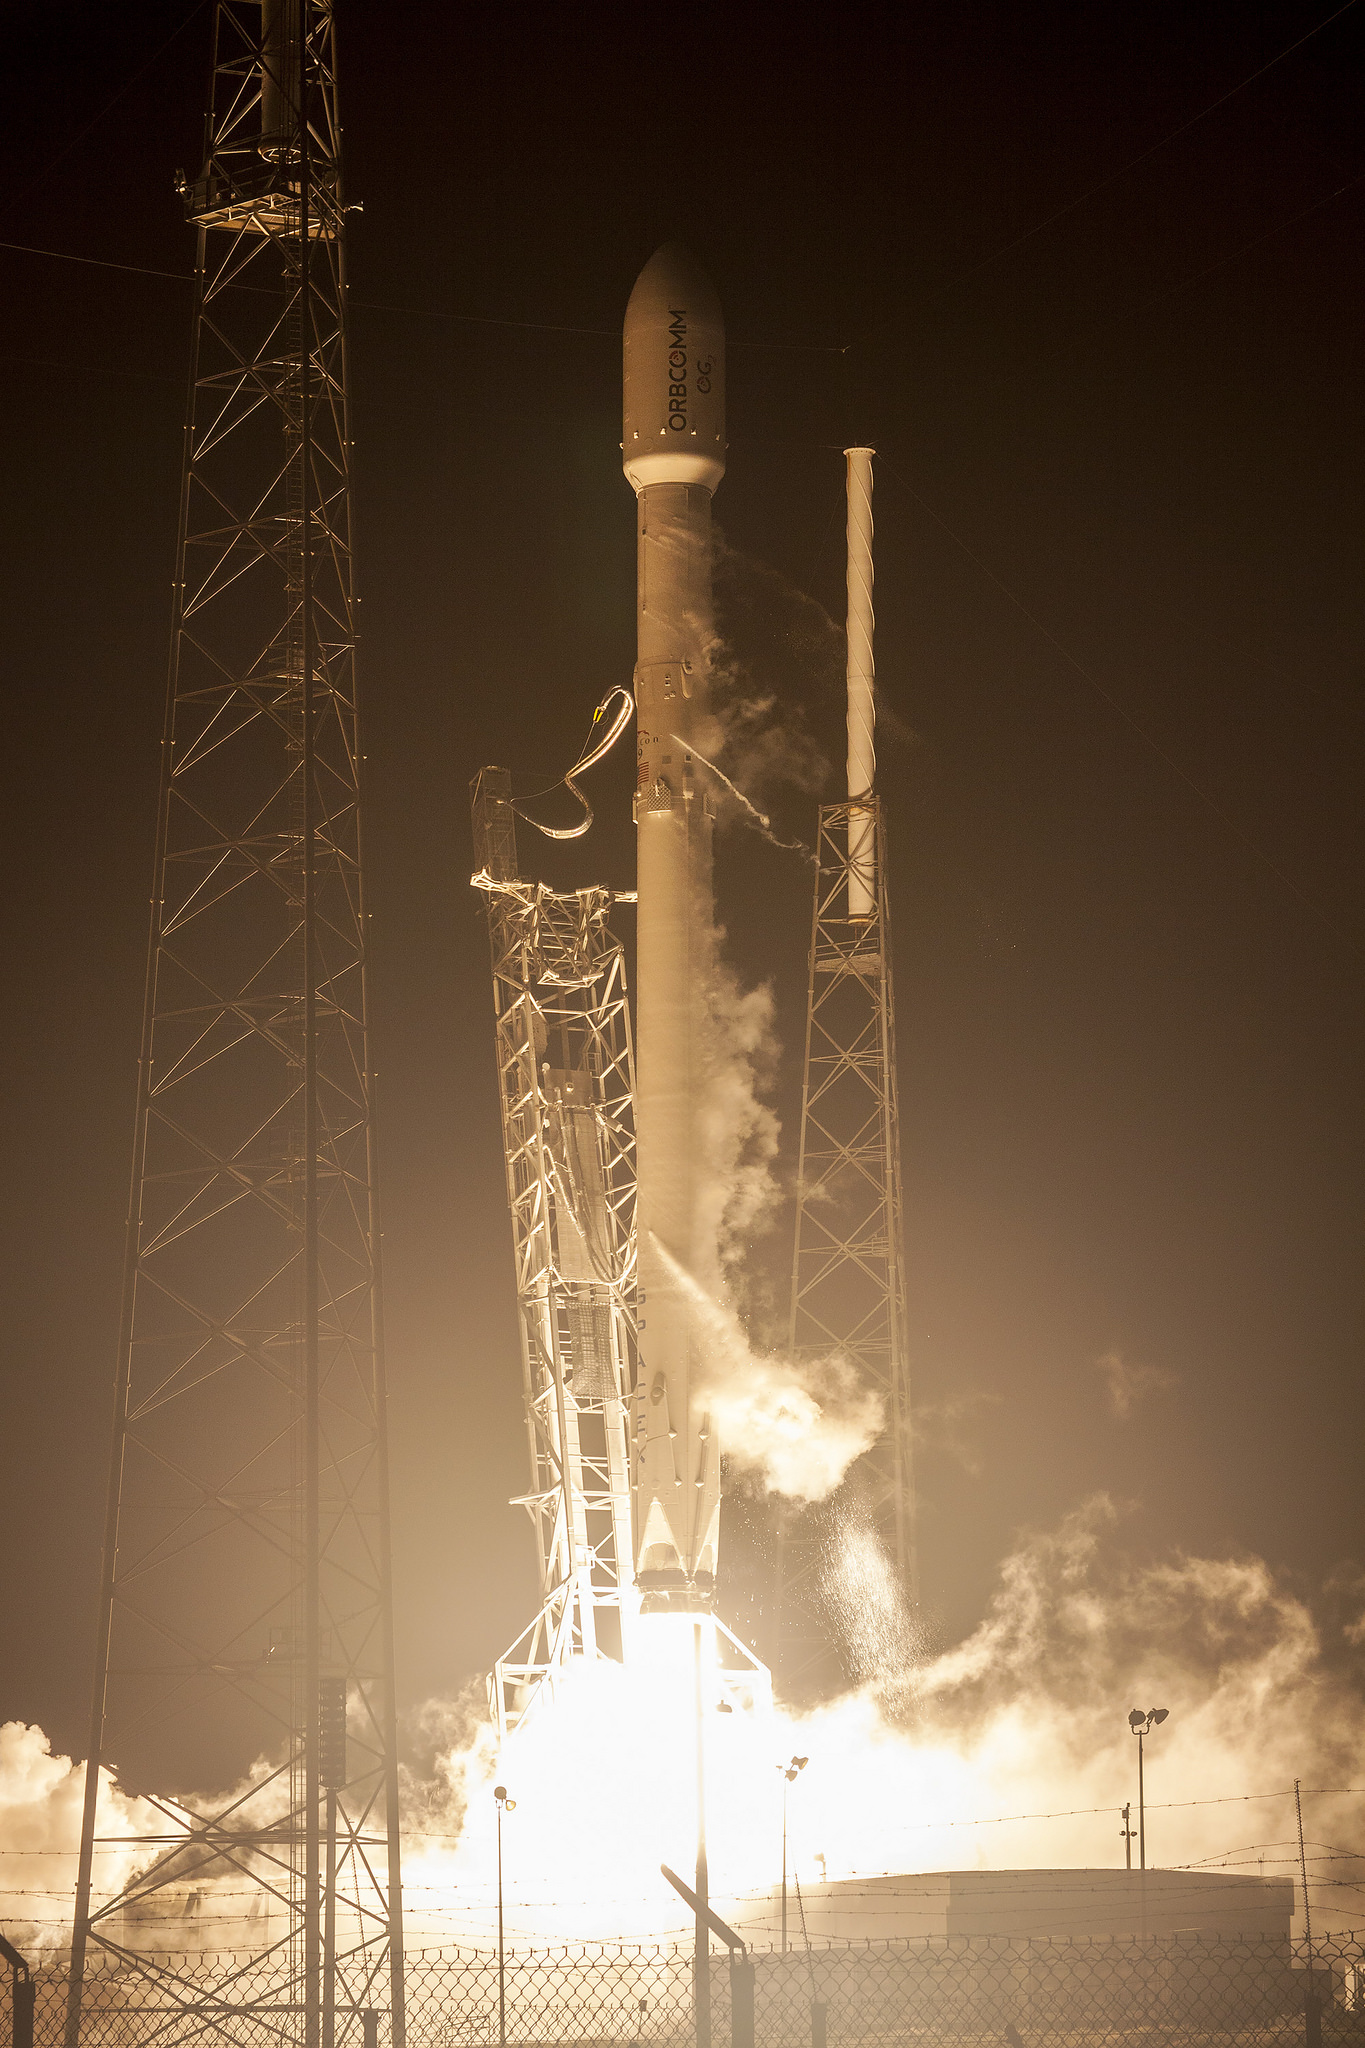
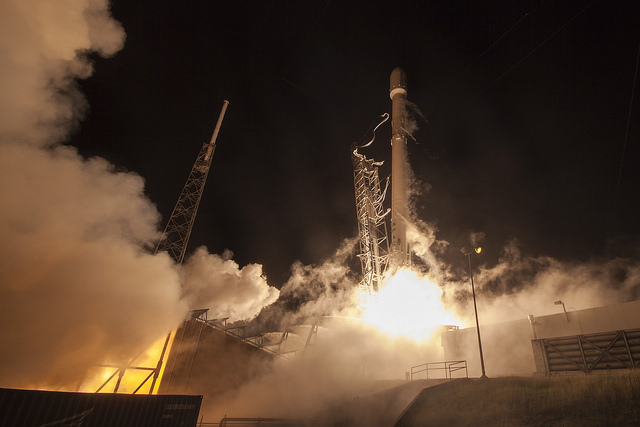
Carrying 11 Orbcomm communications satellites, the Falcon 9 rocket lifted off from Cape Canaveral’s Complex 40 launch pad at 8:29 p.m. EST Monday (0129 GMT Tuesday). The second stage of the rocket broke away less than three minutes later, continuing on to drive the refrigerator-sized satellites into orbit.

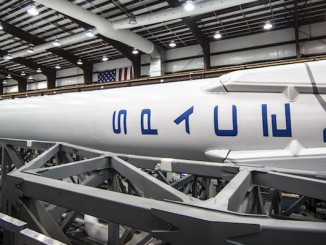
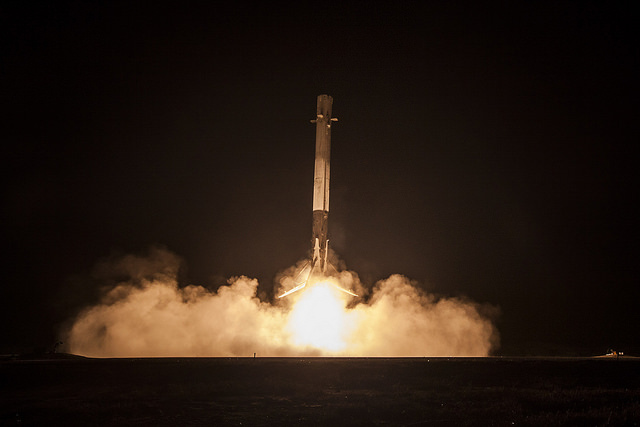
Simultaneously, the 156-foot-tall first stage booster flipped around and fire its engines for three maneuvers to slow down and make a supersonic dive toward a touchdown target a few miles from the Falcon 9’s launch pad.

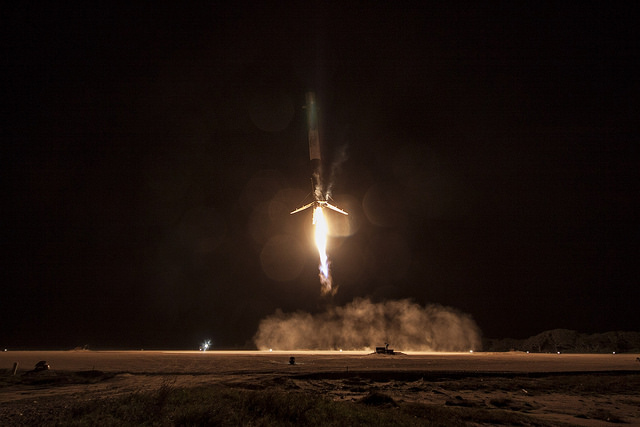
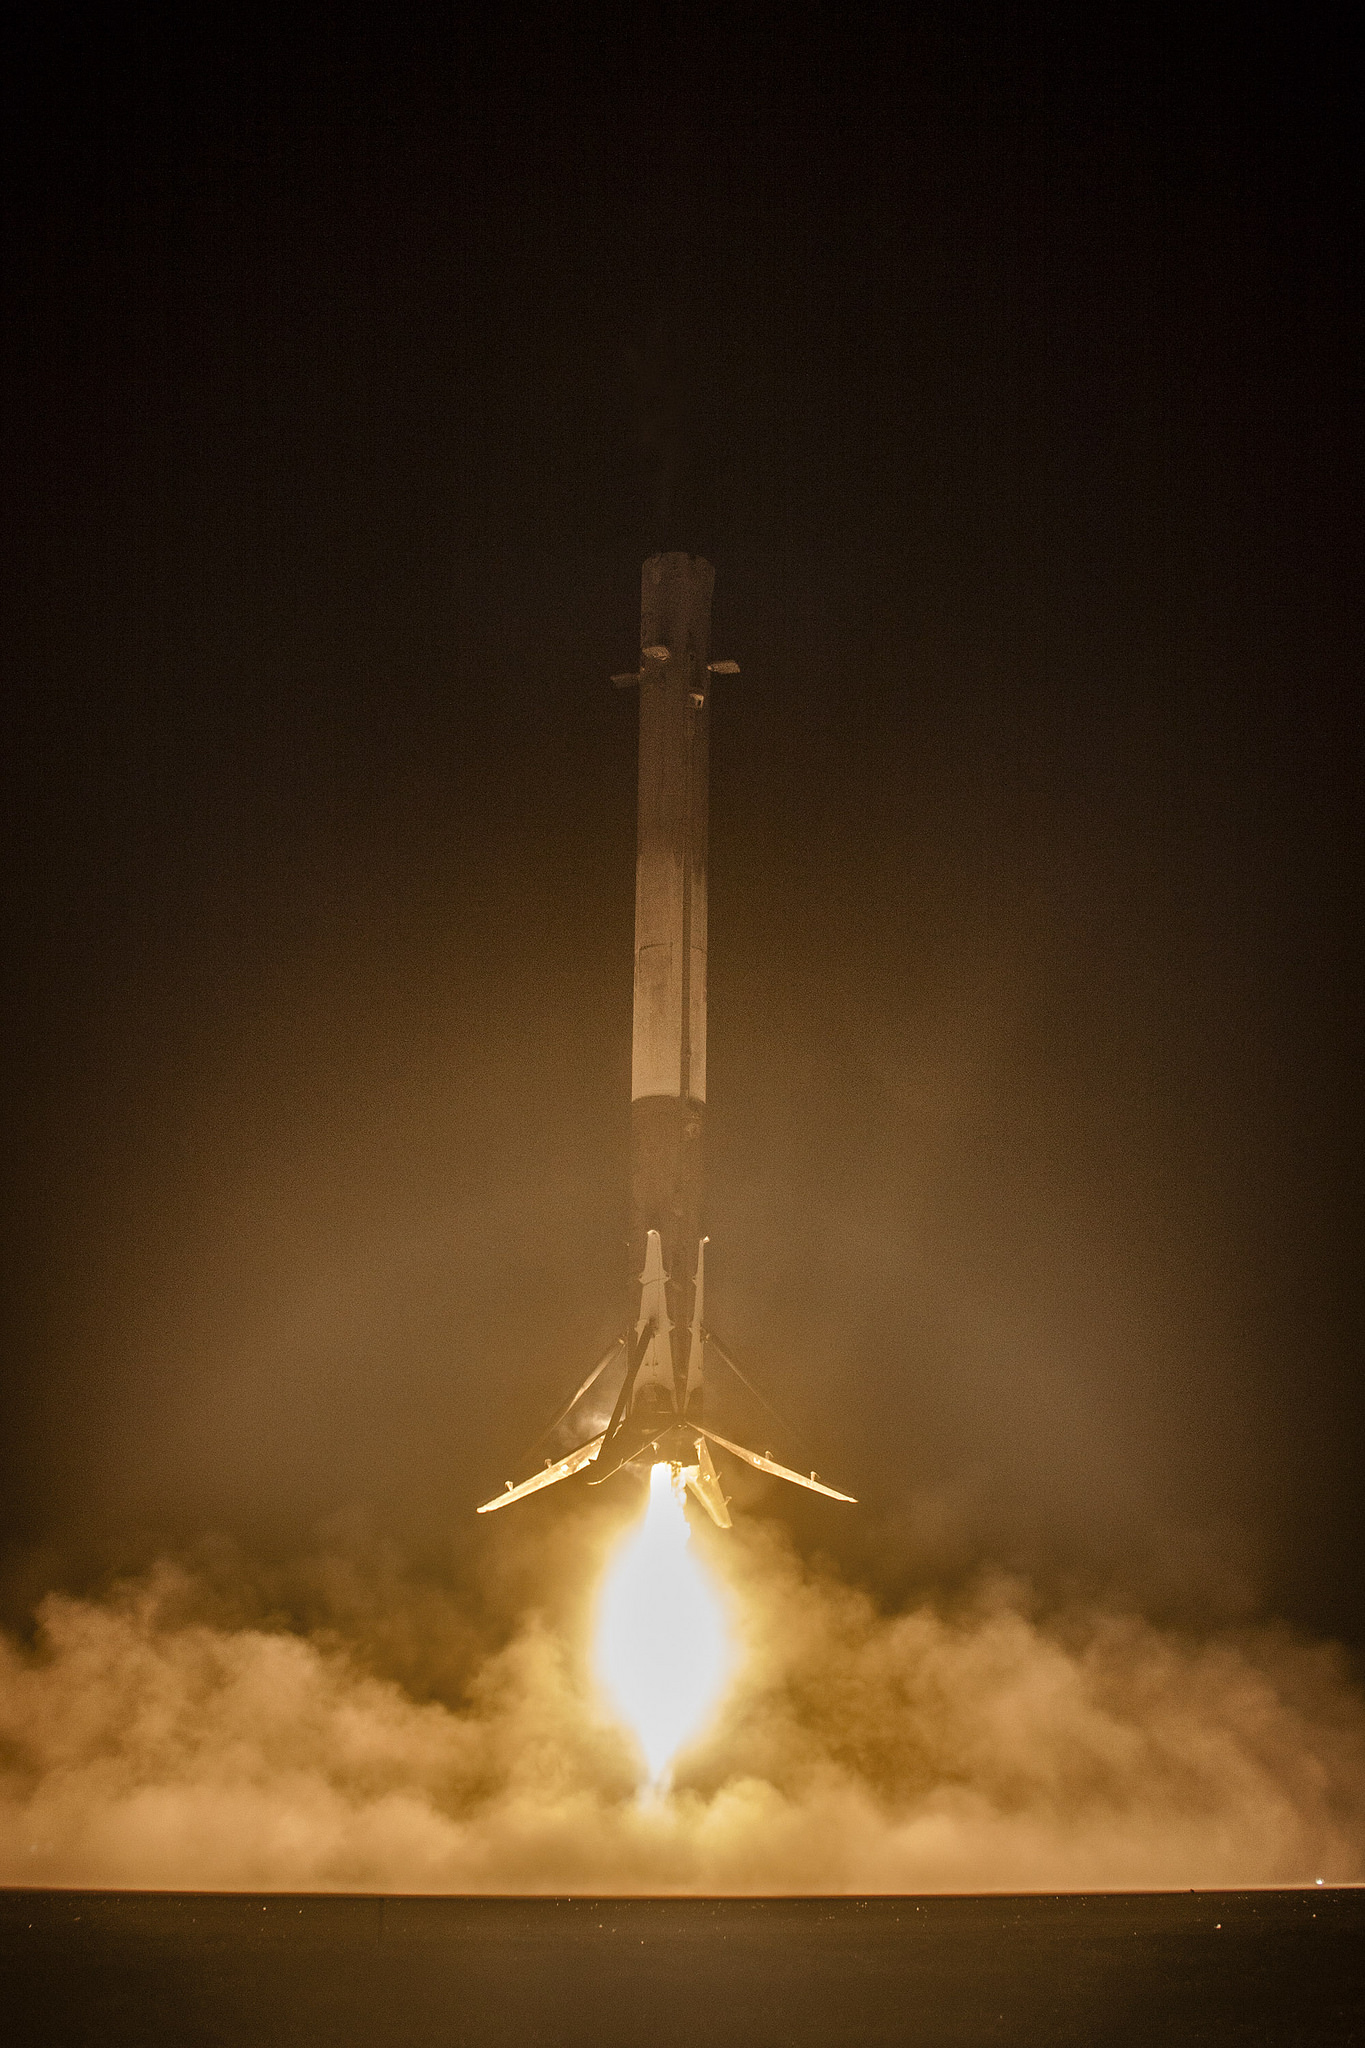
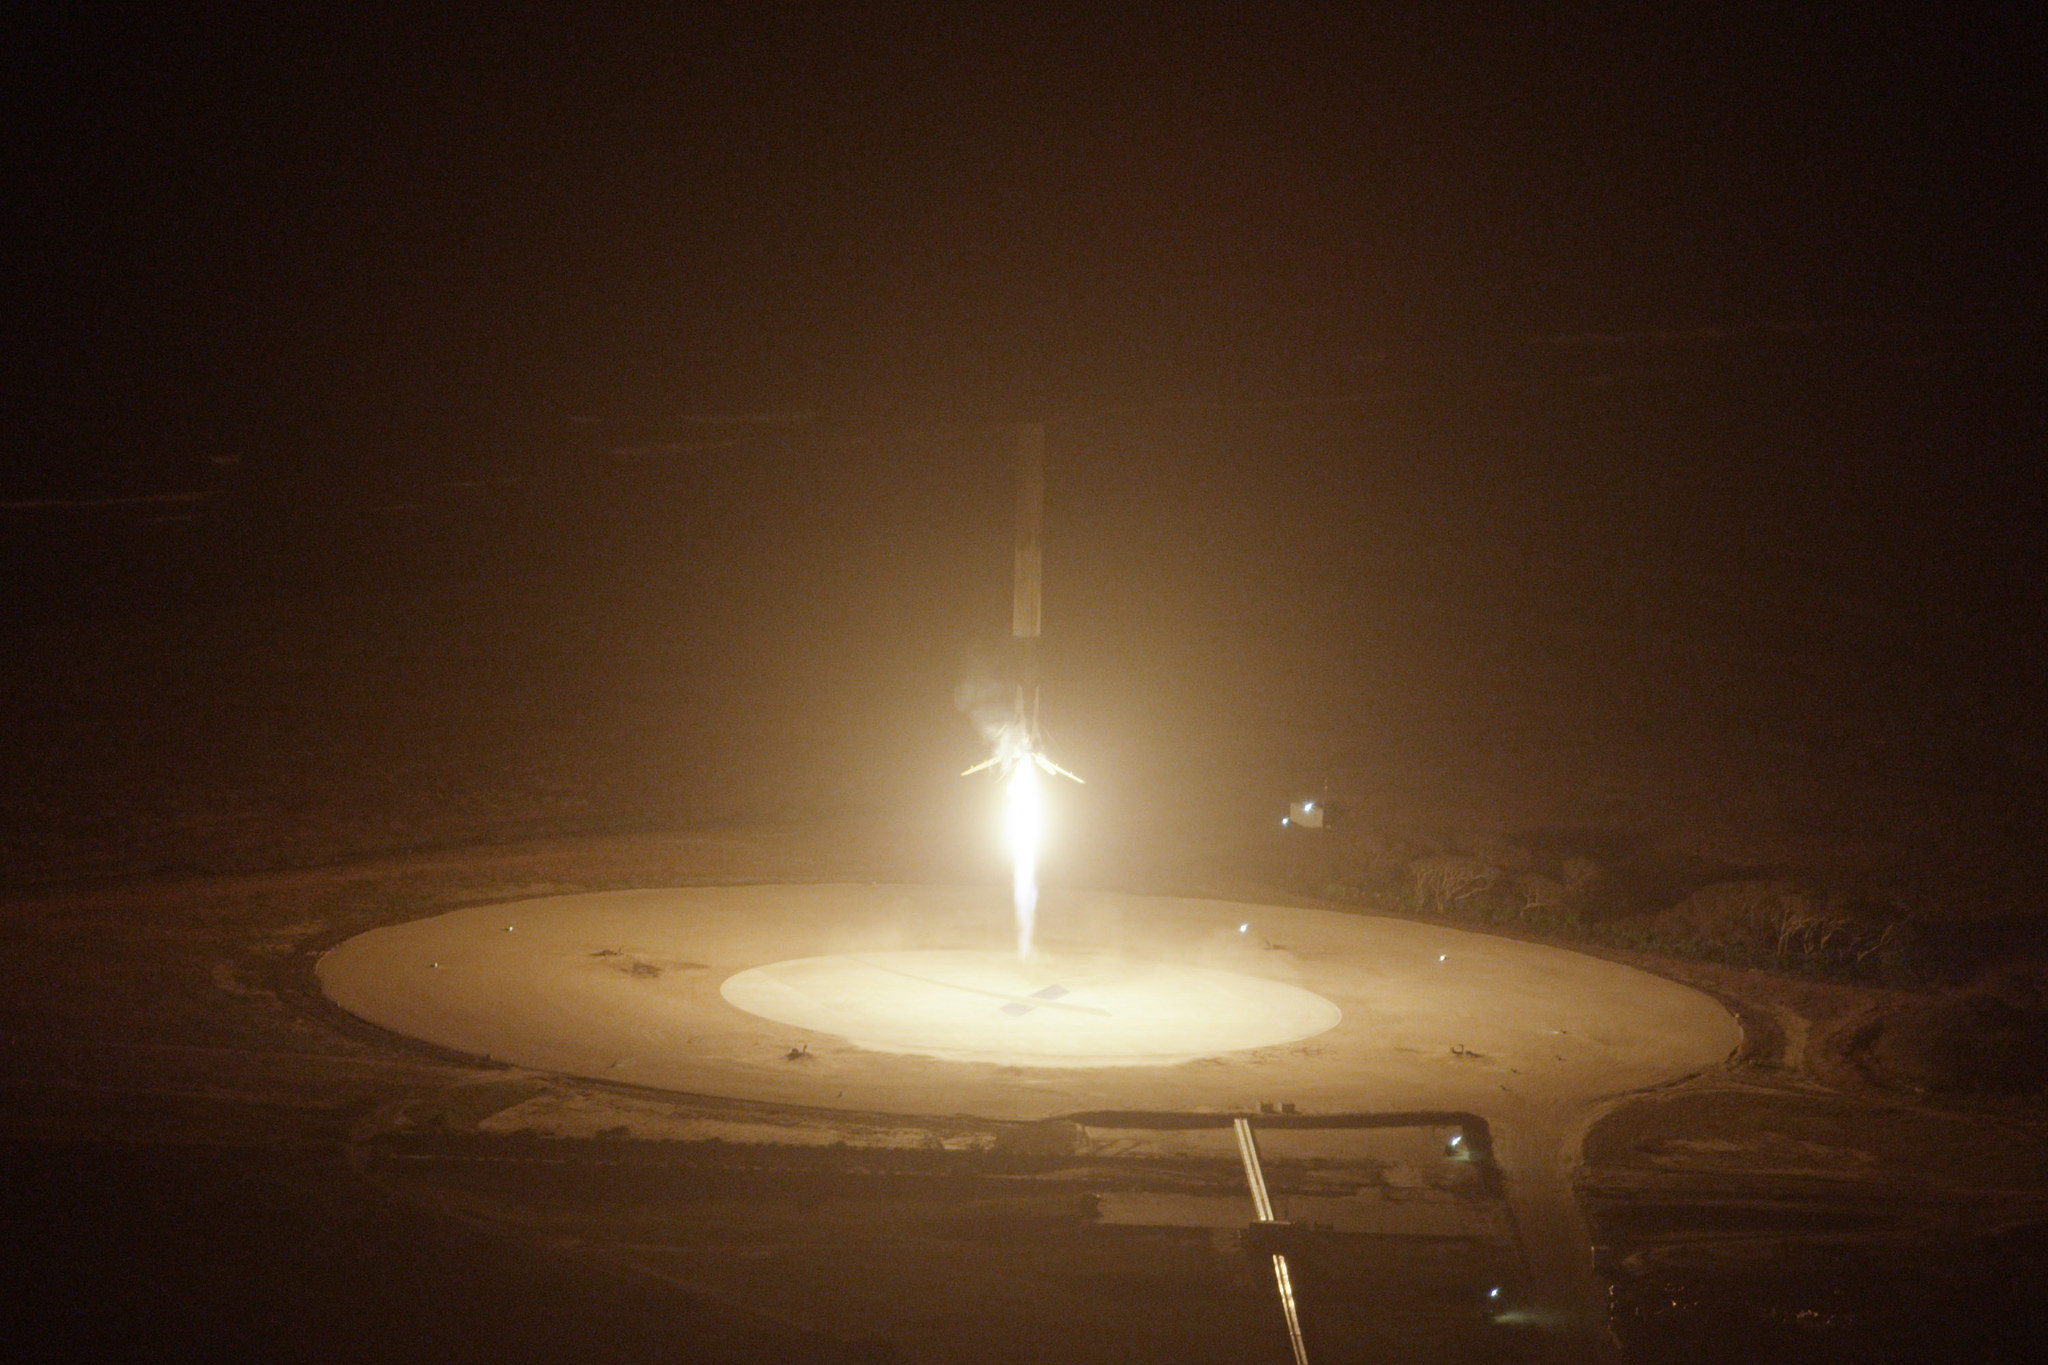
The daring maneuver worked, with the Falcon 9’s center engine braking the rocket for a smooth touchdown at Landing Zone 1, a converted Cold War-era Atlas launch pad near the eastern tip of Cape Canaveral.

Landing occurred less than 10 minutes after liftoff at 8:38 p.m. EST (0138 GMT).

SpaceX says the achievement — unprecedented in scale and method — helps the company clear a critical hurdle in its initiative to develop a reusable rocket.

Photo credit: SpaceX
Taken from the top of Kennedy Space Center’s iconic Vehicle Assembly Building, this long exposure photo shows the Falcon 9 streaking into space from the Complex 40 launch pad, then returning to Earth nearby at Landing Zone 1 with the light from the re-entry burn and landing burn appearing as streaks. Photo credit: SpaceX
Photo credit: SpaceX
This long exposure view from the south along the beach shows the Falcon 9 rocket going up and coming down. Photo credit: SpaceX
The Falcon 9 booster's trajectory is clearly visible in this long exposure view recorded from Exploration Tower in Port Canaveral, Florida. Credit: Katie Darby
The Falcon 9 booster’s trajectory is clearly visible in this long exposure view recorded from Exploration Tower in Port Canaveral, Florida. Credit: Katie Darby
The Falcon 9's ascent (left) and descent (right). Photo credit: Stephen Clark/Spaceflight Now
The Falcon 9’s ascent (left) and descent (right). Photo credit: Stephen Clark/Spaceflight Now
Photo credit: SpaceX
An aerial shot of the Falcon 9 first stage on final descent. Photo credit: SpaceX

Email the author.

Follow Stephen Clark on Twitter: @StephenClark1.